What you'll need:
Materials:
- 180cm-2m piece of timber (Dressed or well sanded)
- Grey lead pencil
- Permanent marker
- Printer
- Clear sealant
- Sand paper 120 grit
- Masking tape
- 2 x 3m Velcro strips
- 2x adhesive felt dots
- Wire
- 2 x Screws
- Plaster hook
Tools:
- Mitre saw or circular saw
- Sander or hand sand
- Set square
- Paint brush
- Tape measure
- Drill
- Hammer
This DIY project has been one we’ve been wanting to do for a while and it’s only now that Esme is two that we thought-right we need to get this done before she grows even more!
I love this particular project because it really was very simple and inexpensive. The only thing you really need is a decent piece of dressed timber (ours was reclaimed) , some permanent markers, a printer, pencil and some clear sealant.
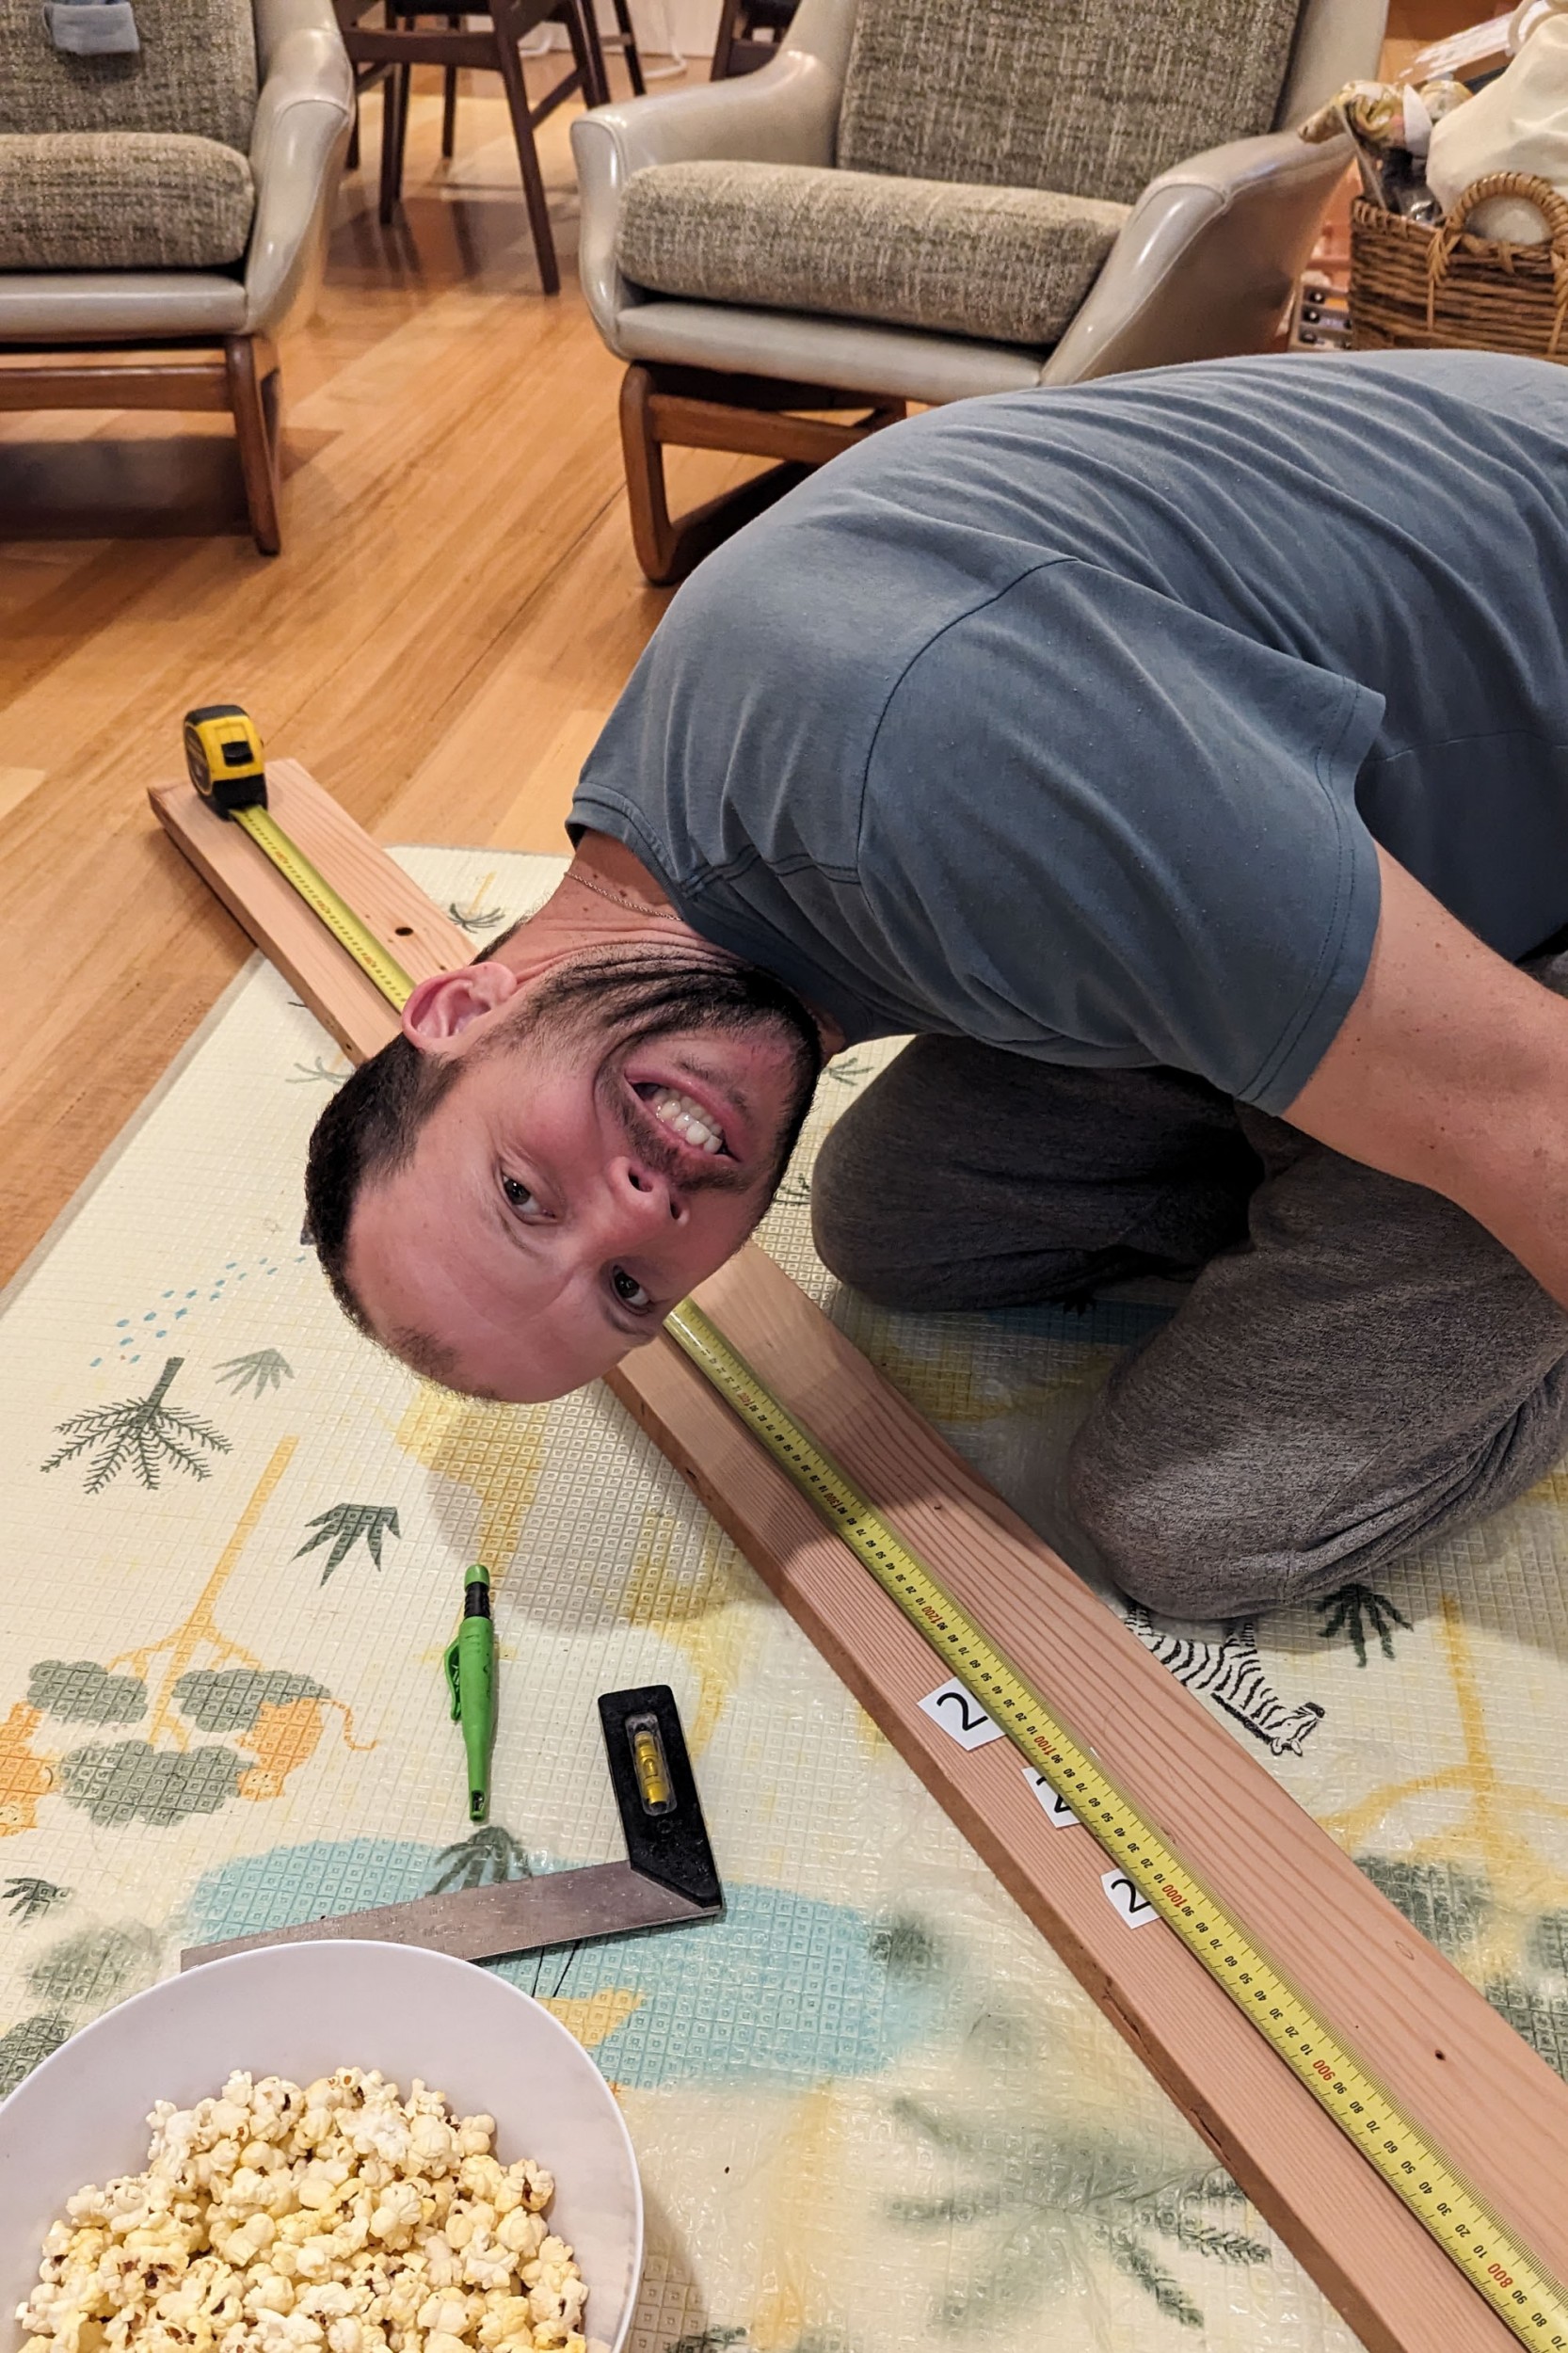
We started by choosing our piece of timber. We selected a piece of oregon that we already had in the workshop and sent it through the thicknesser to clean it up.
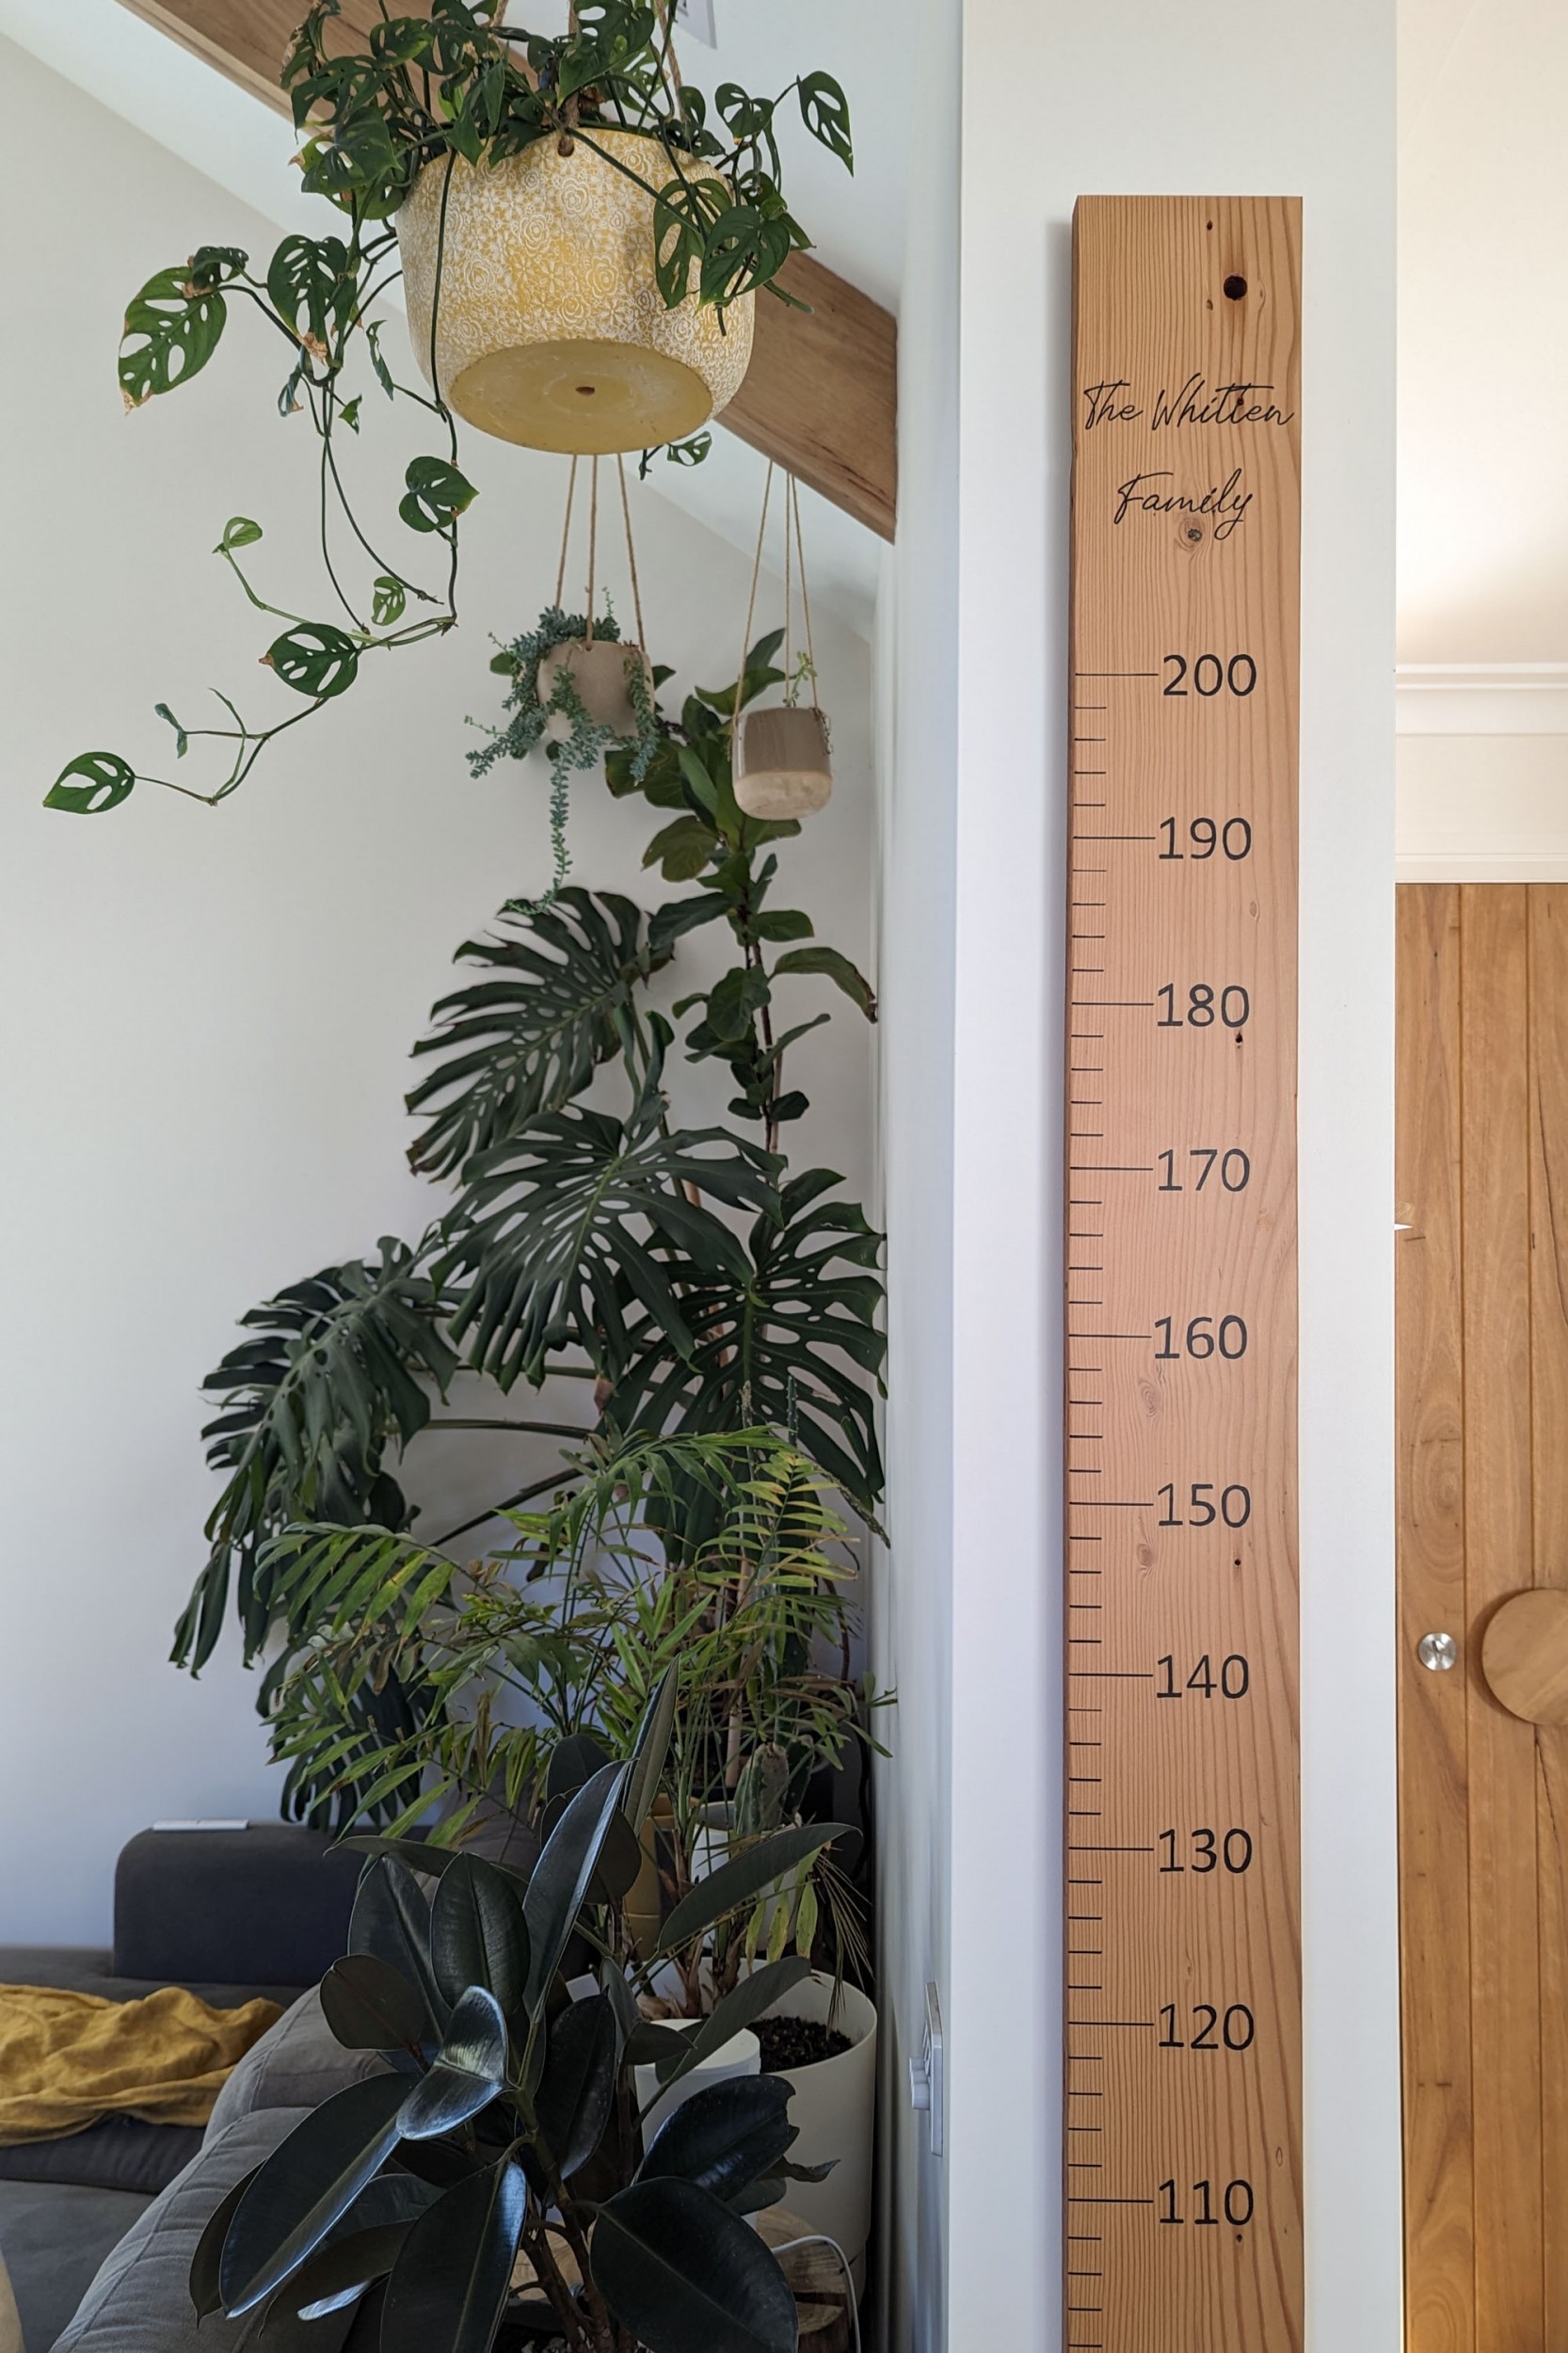
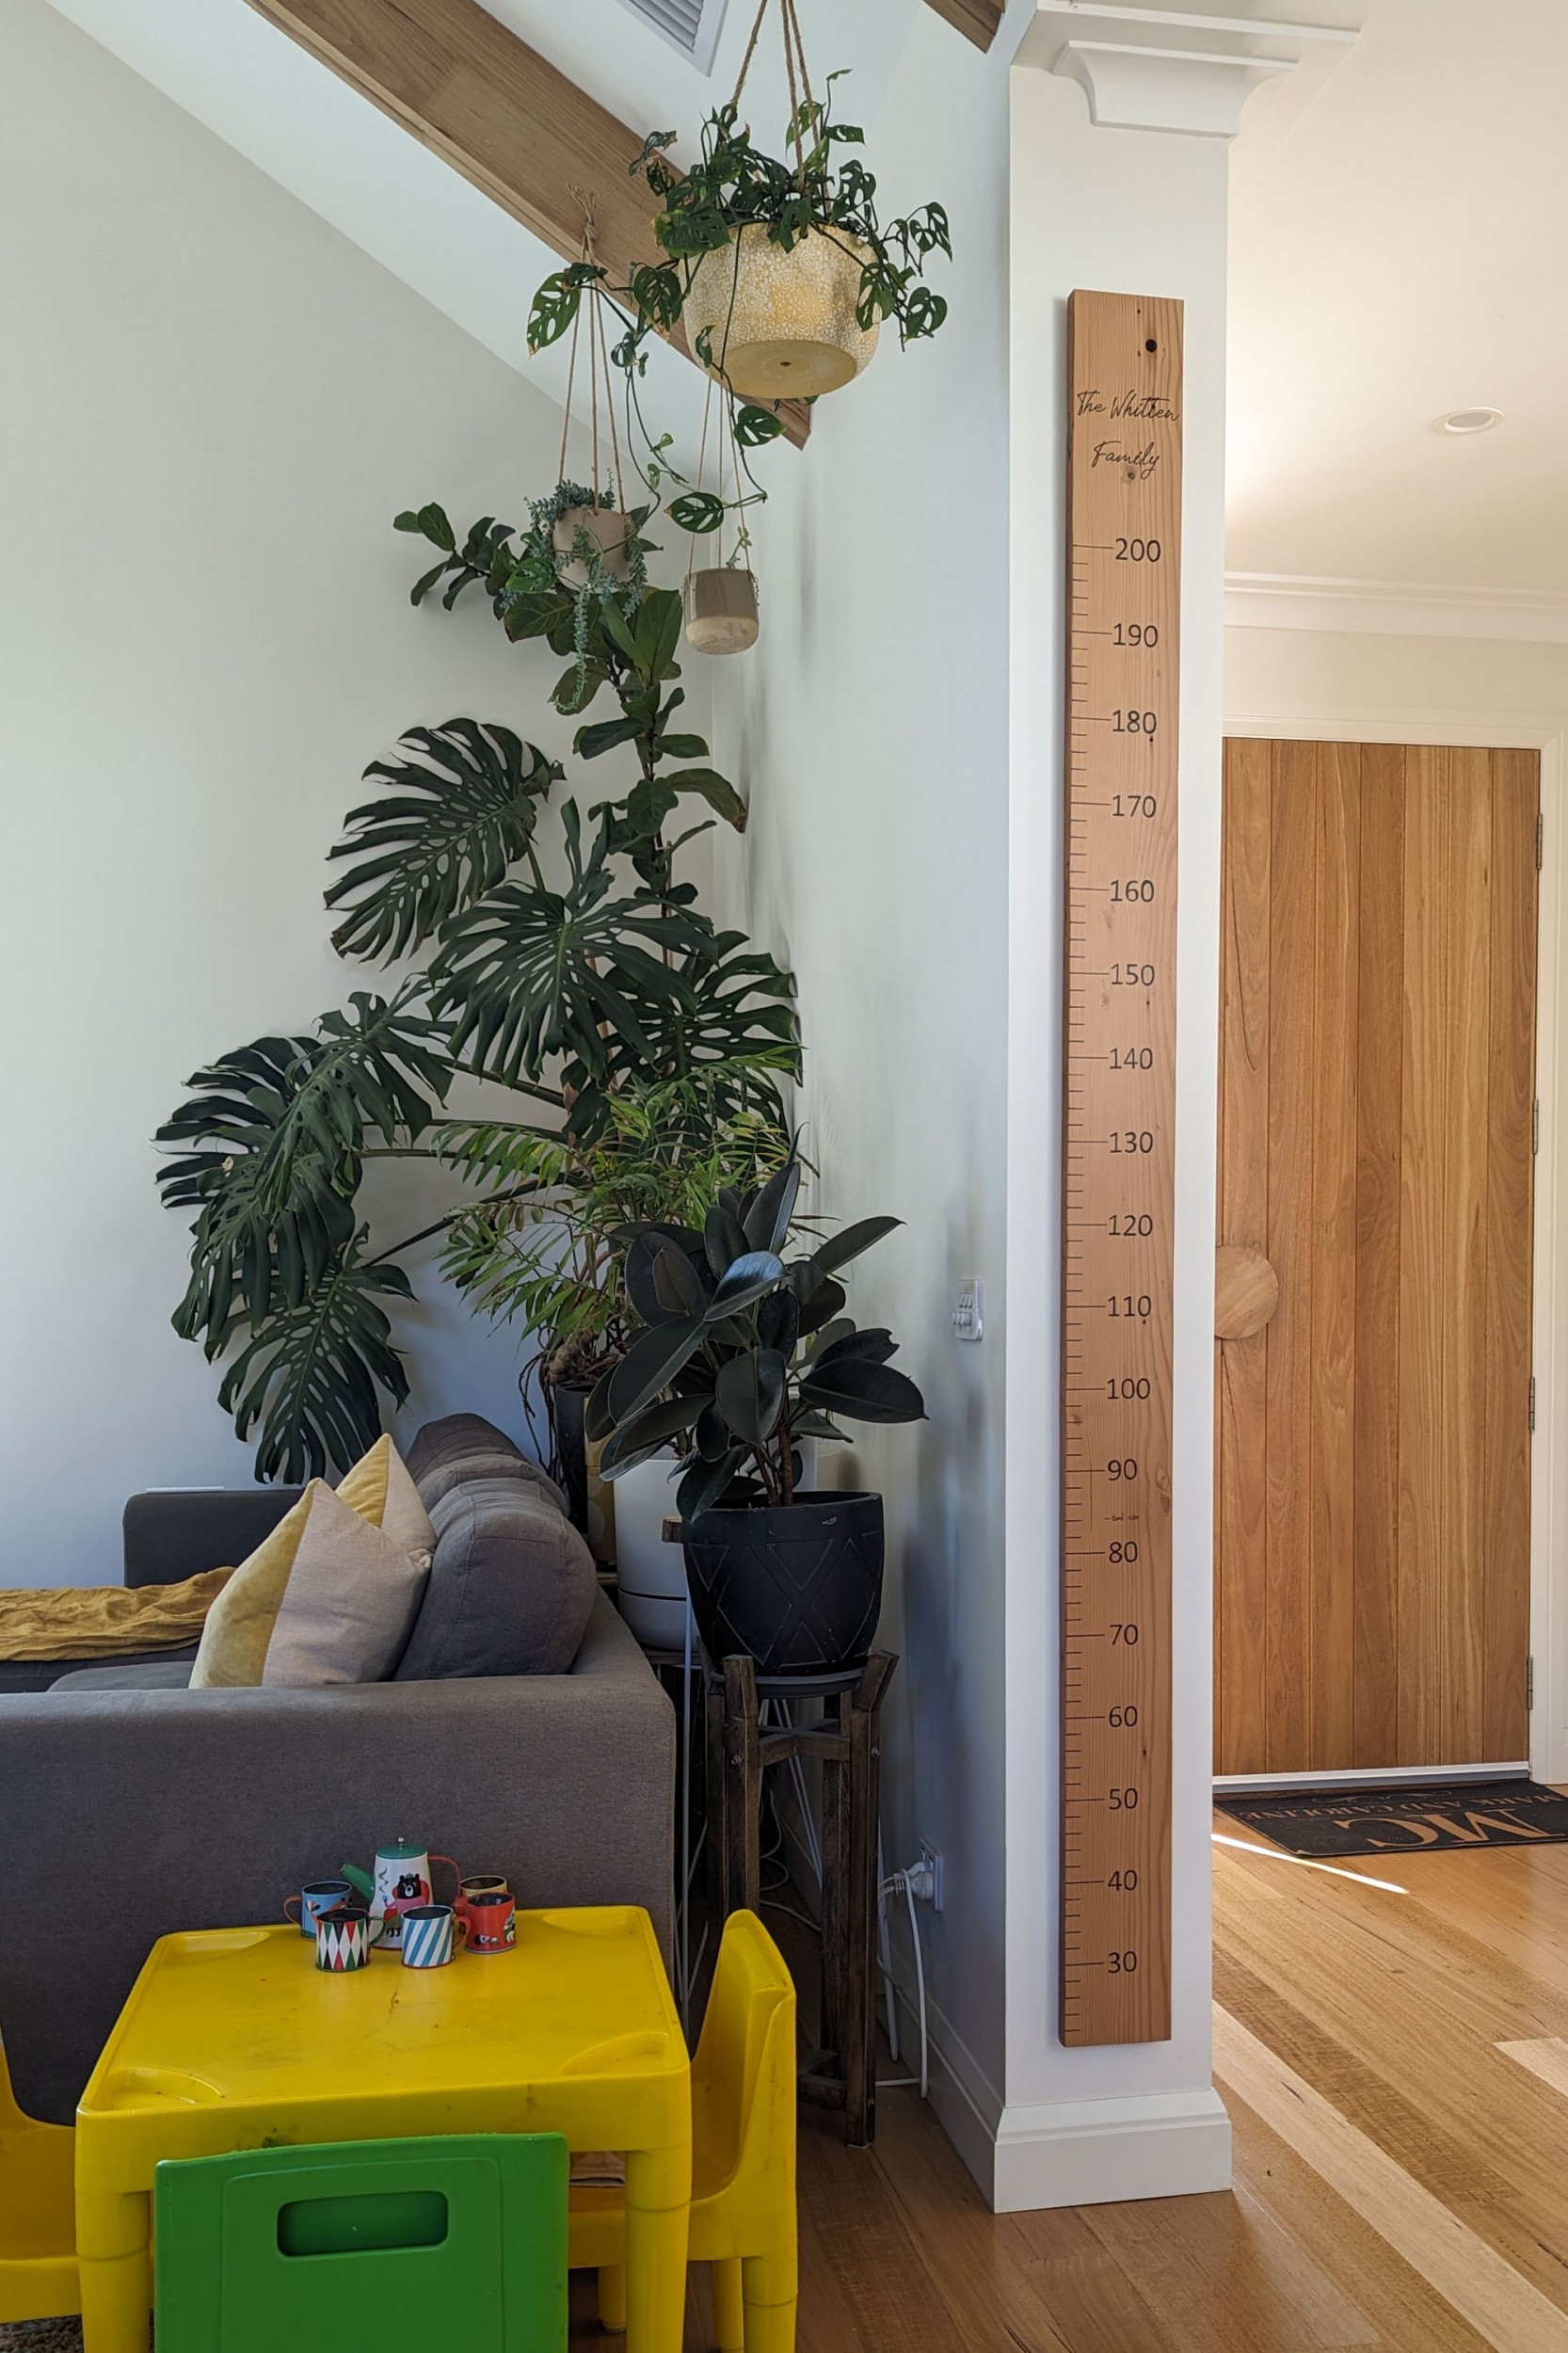
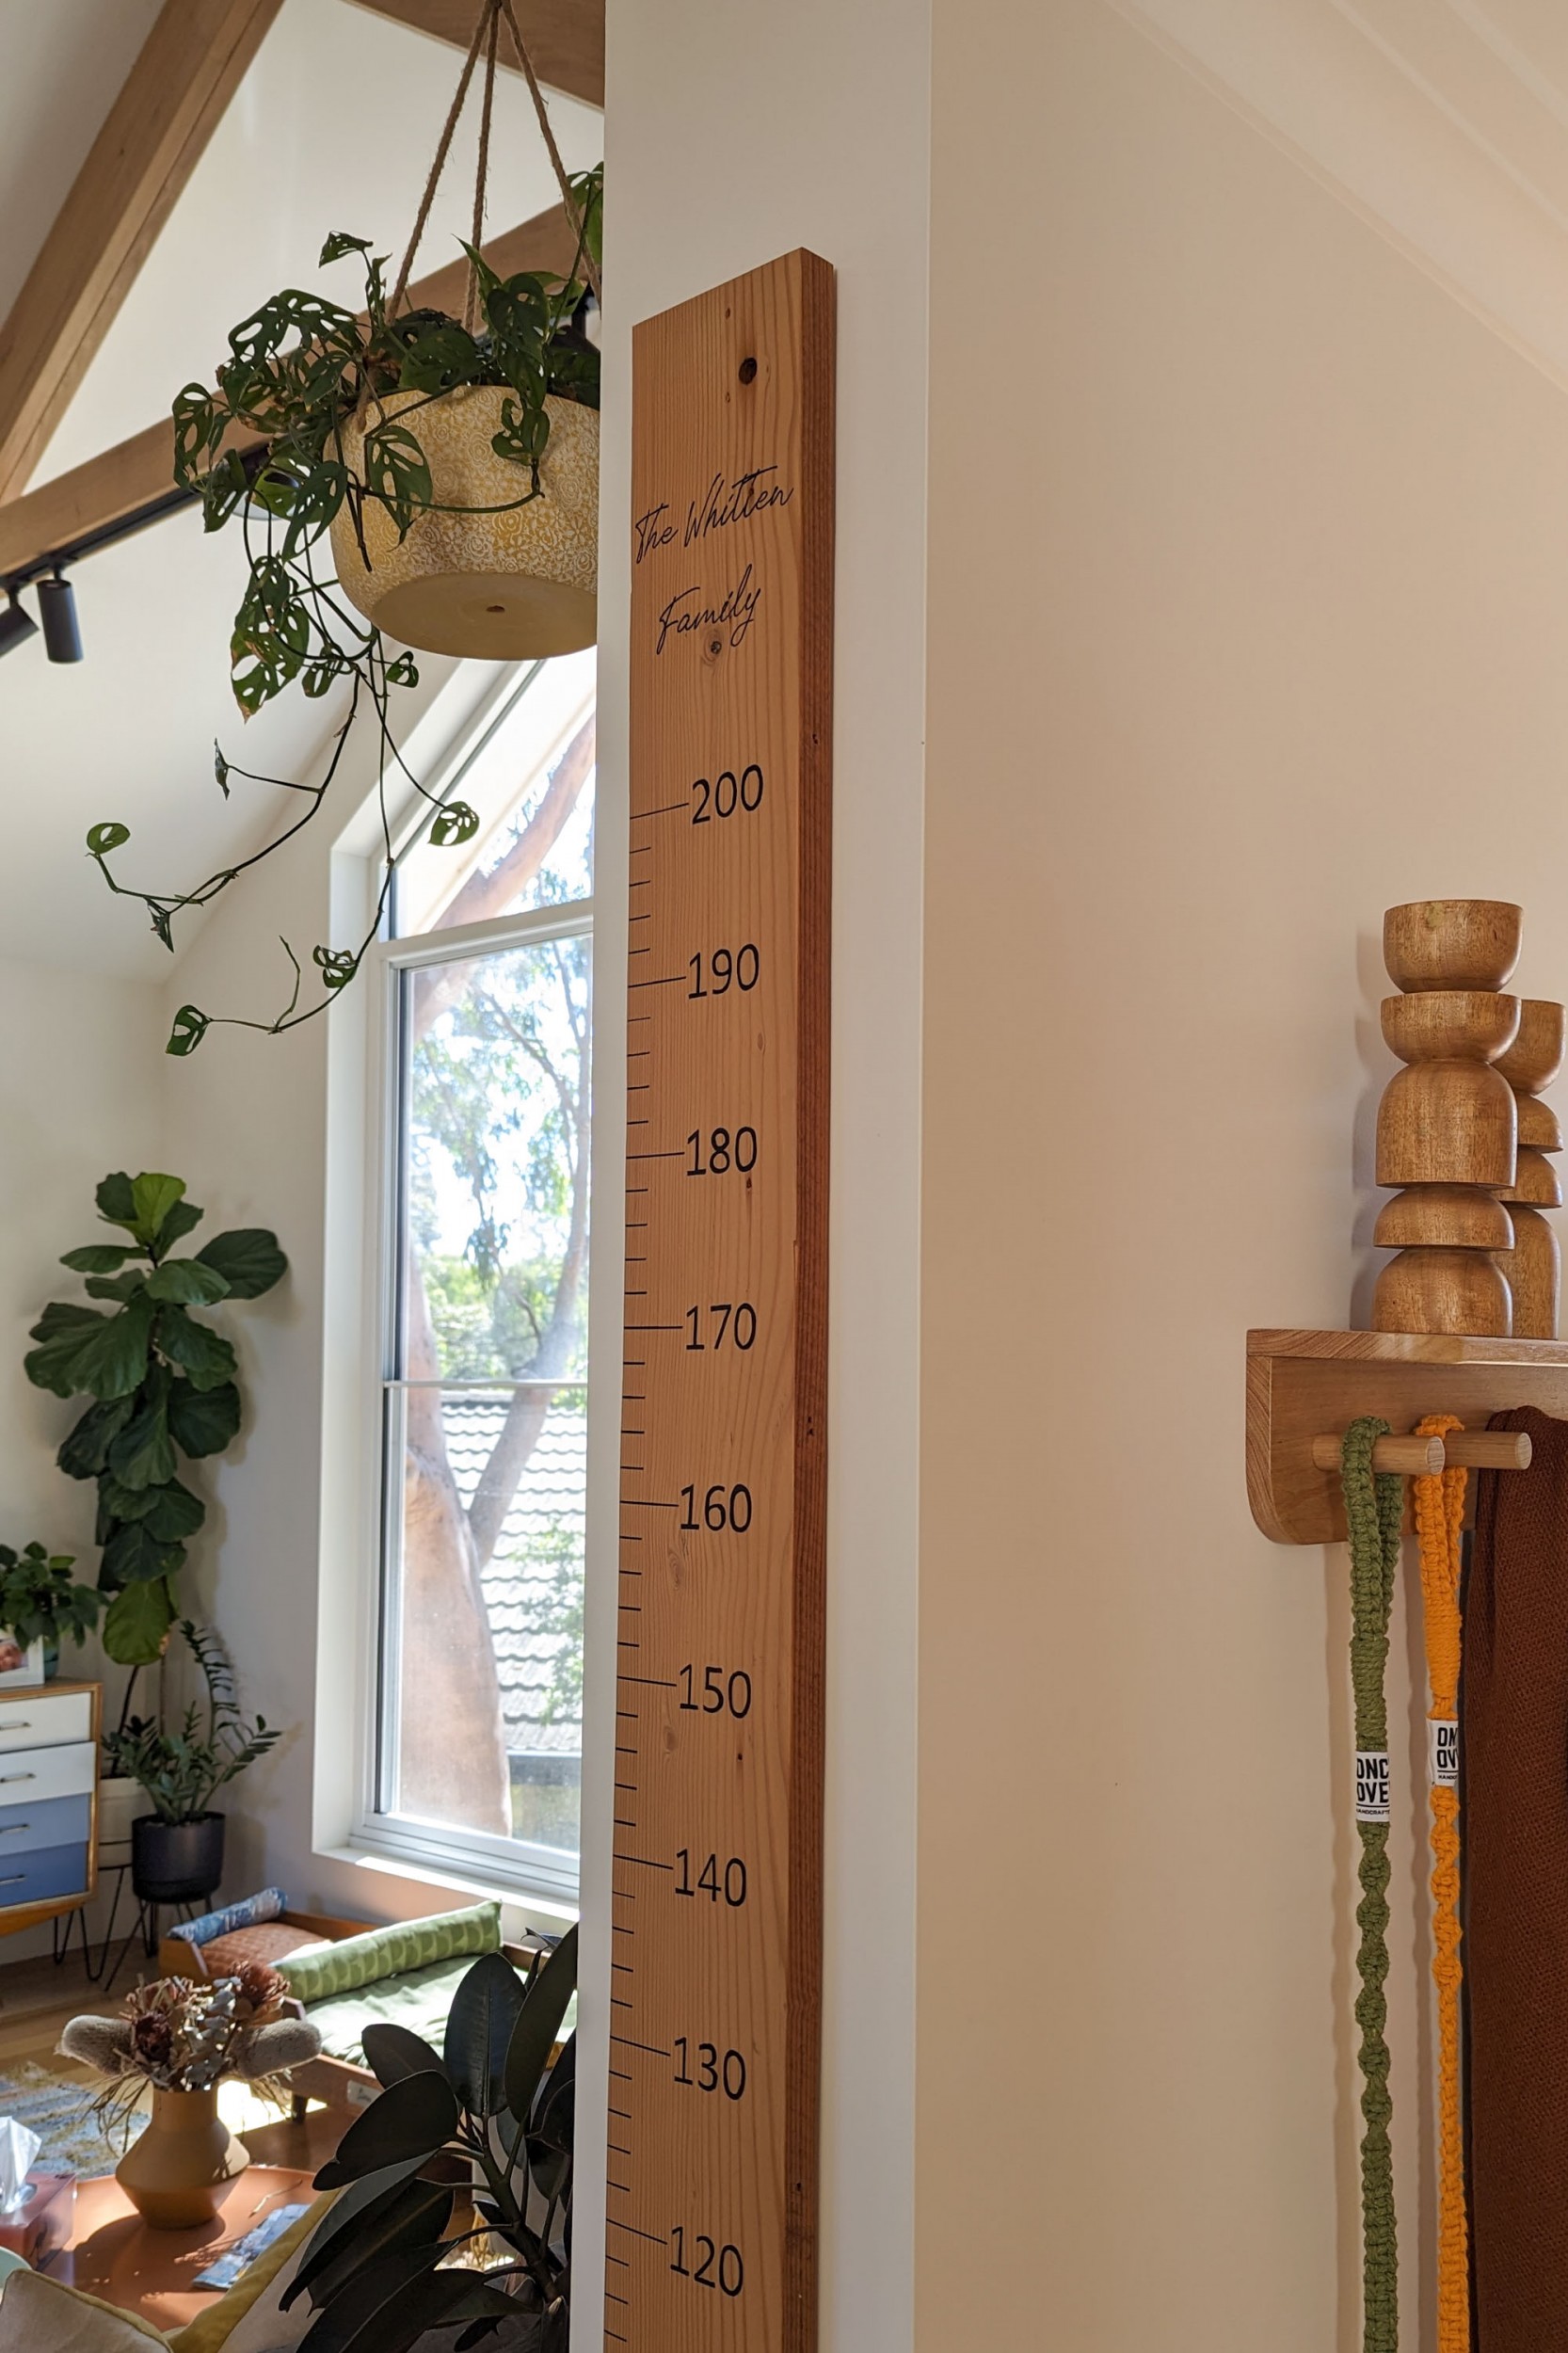
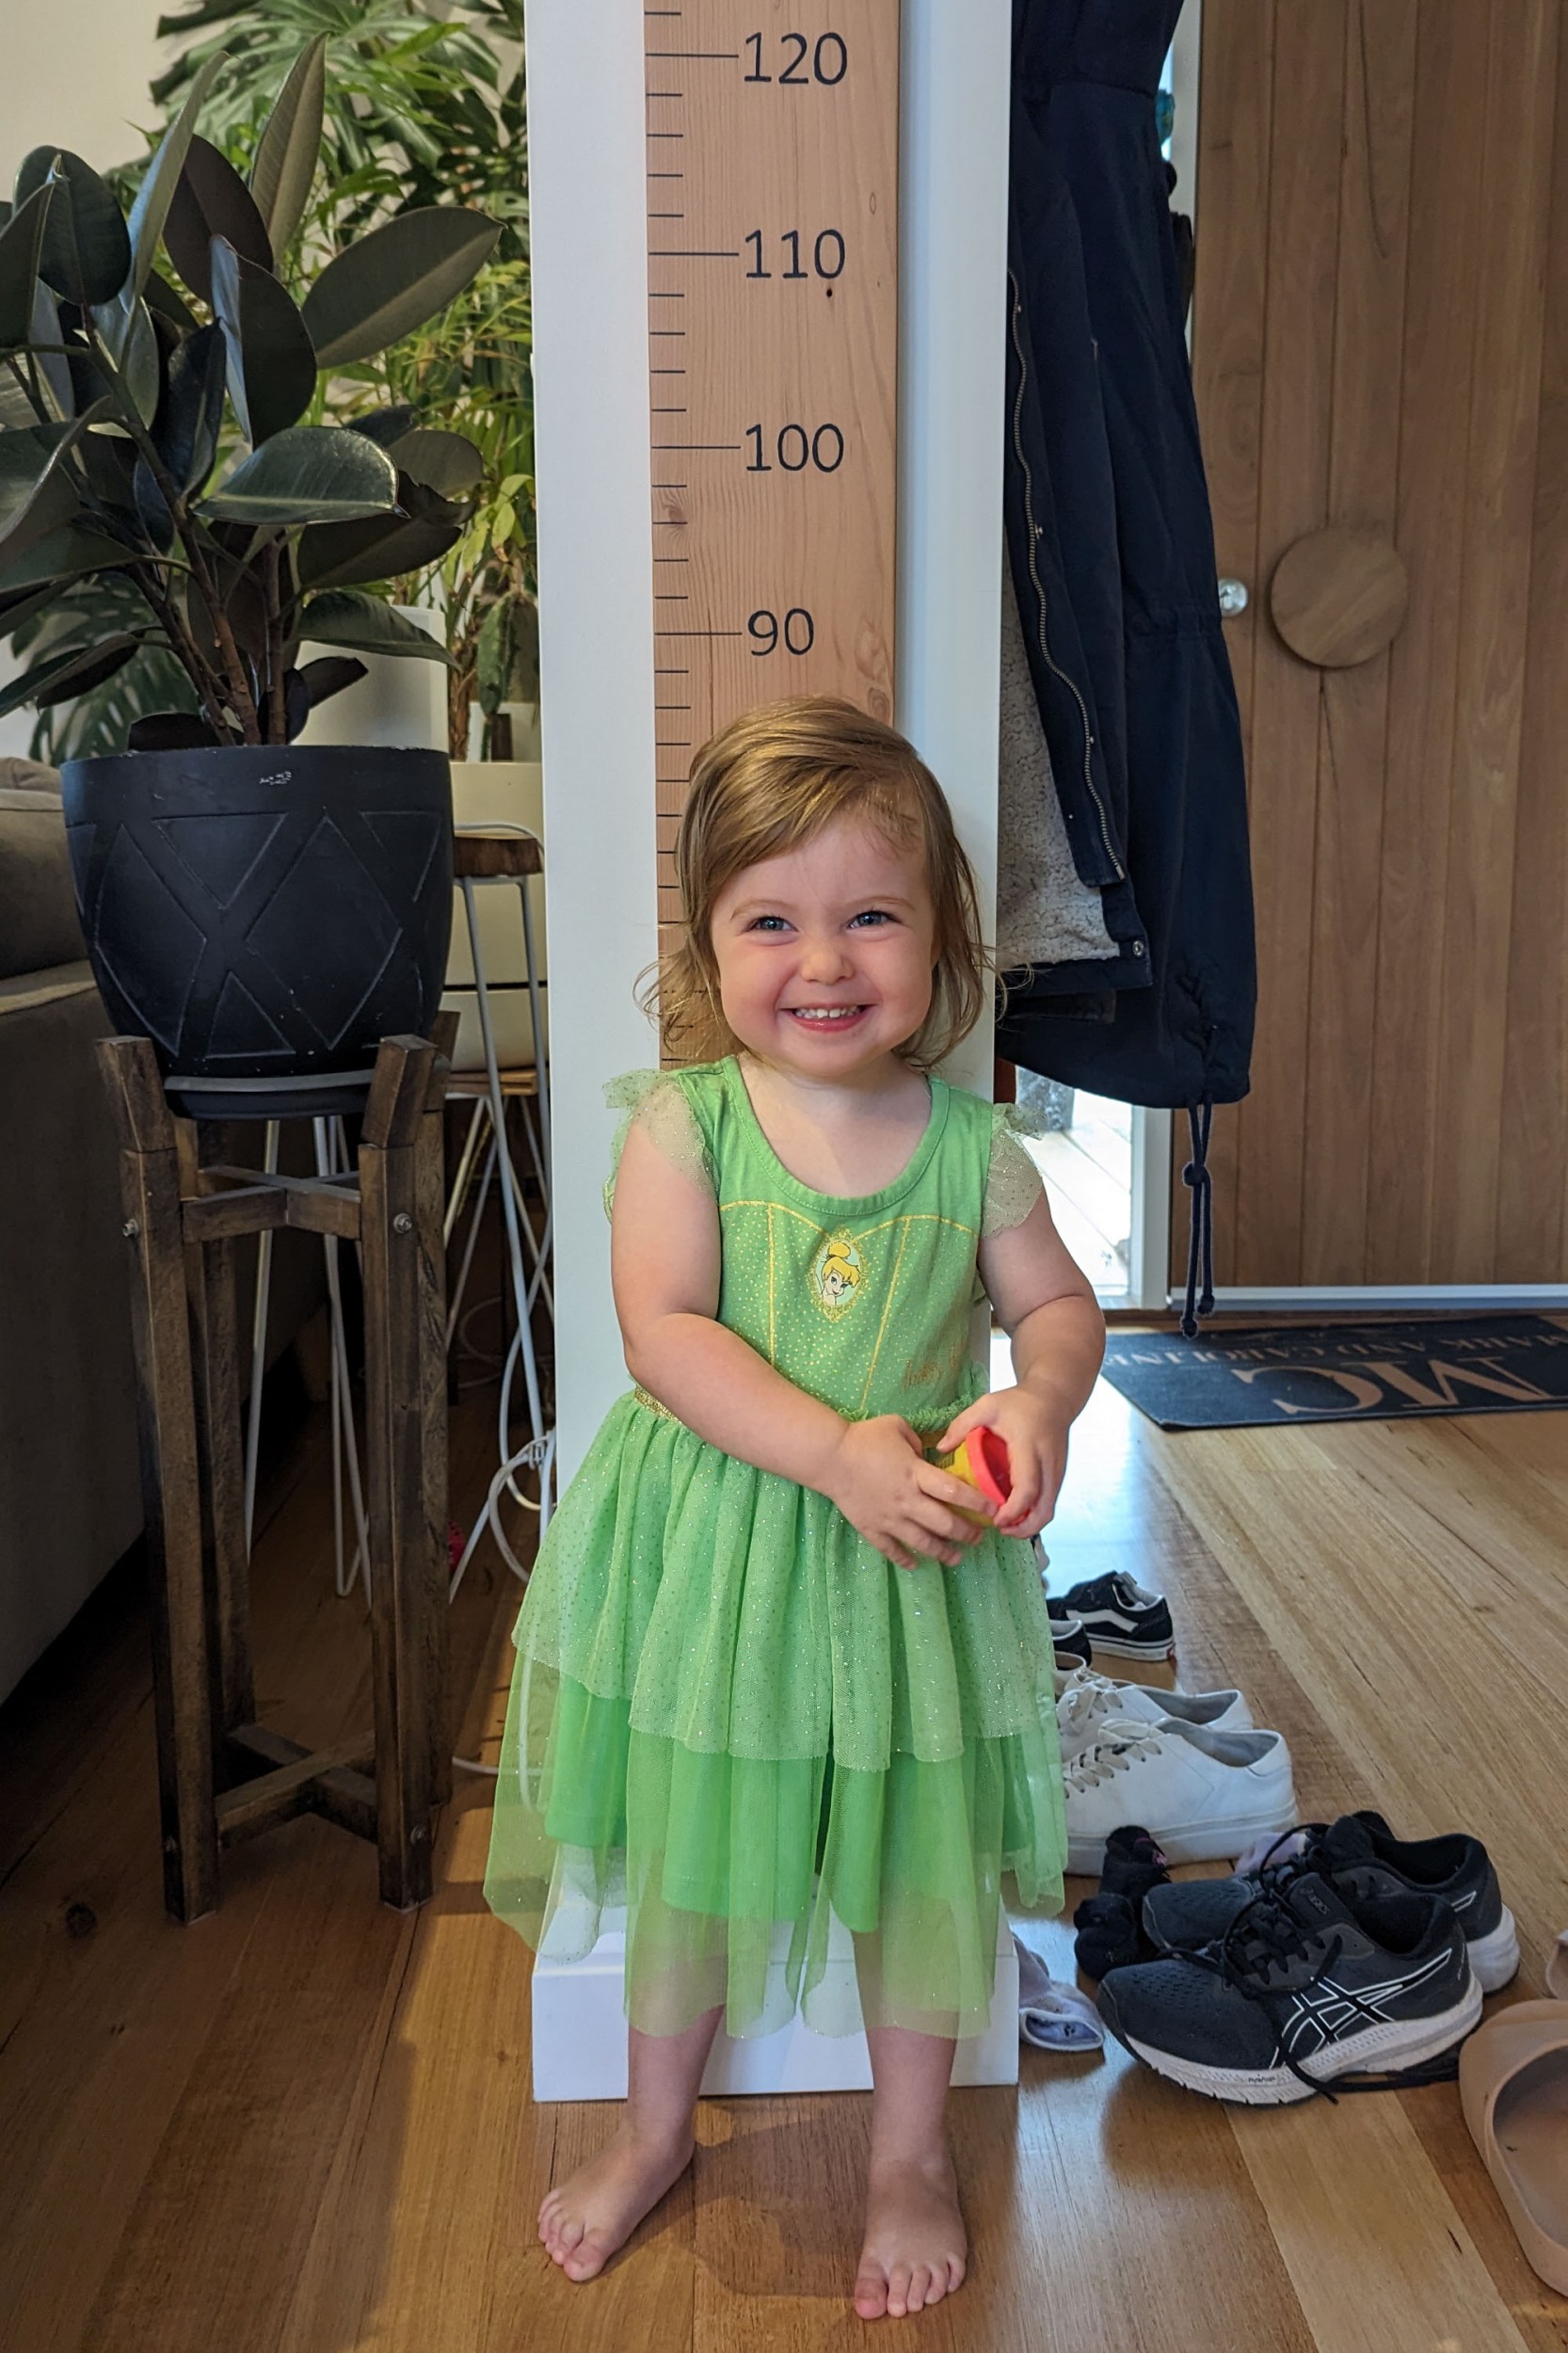
Next step was to decide the height of the chart and how to mark the measurements. We had a look online to see what the standard height chart commenced and ended at and then based ours on this so ours starts at 20cm and ends at 200cm. We would then hang it 20cm above floor height.
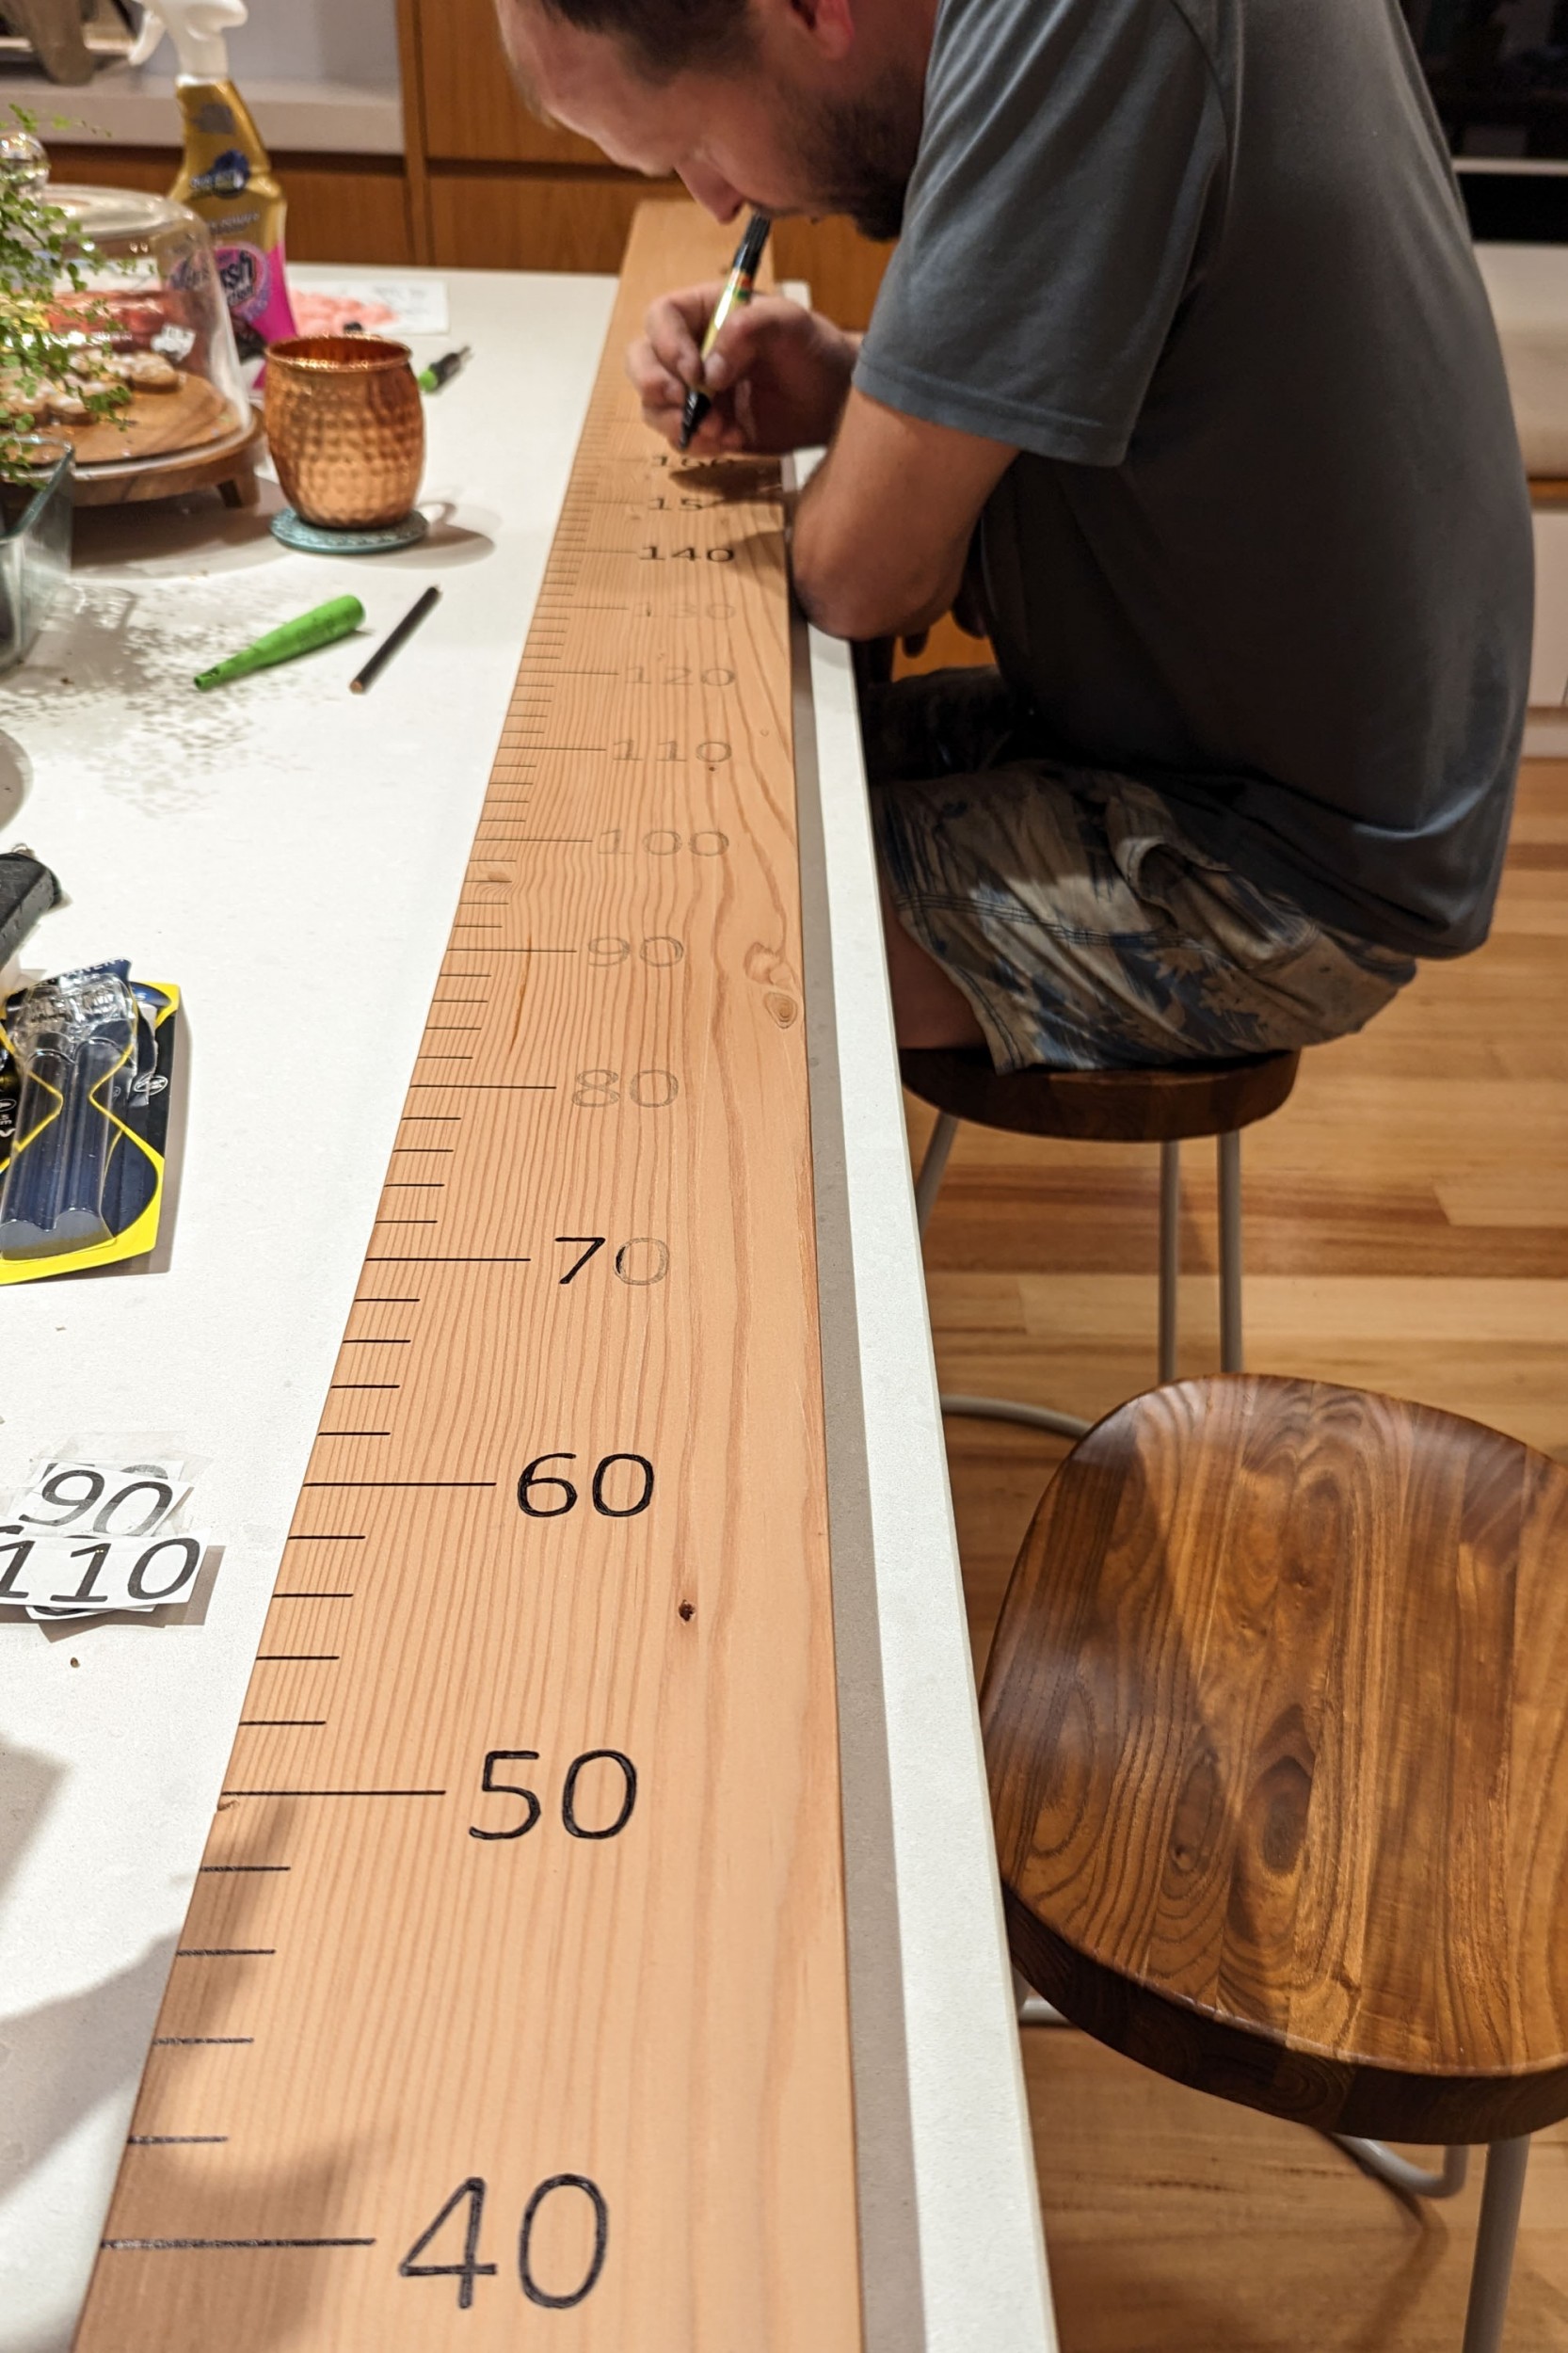
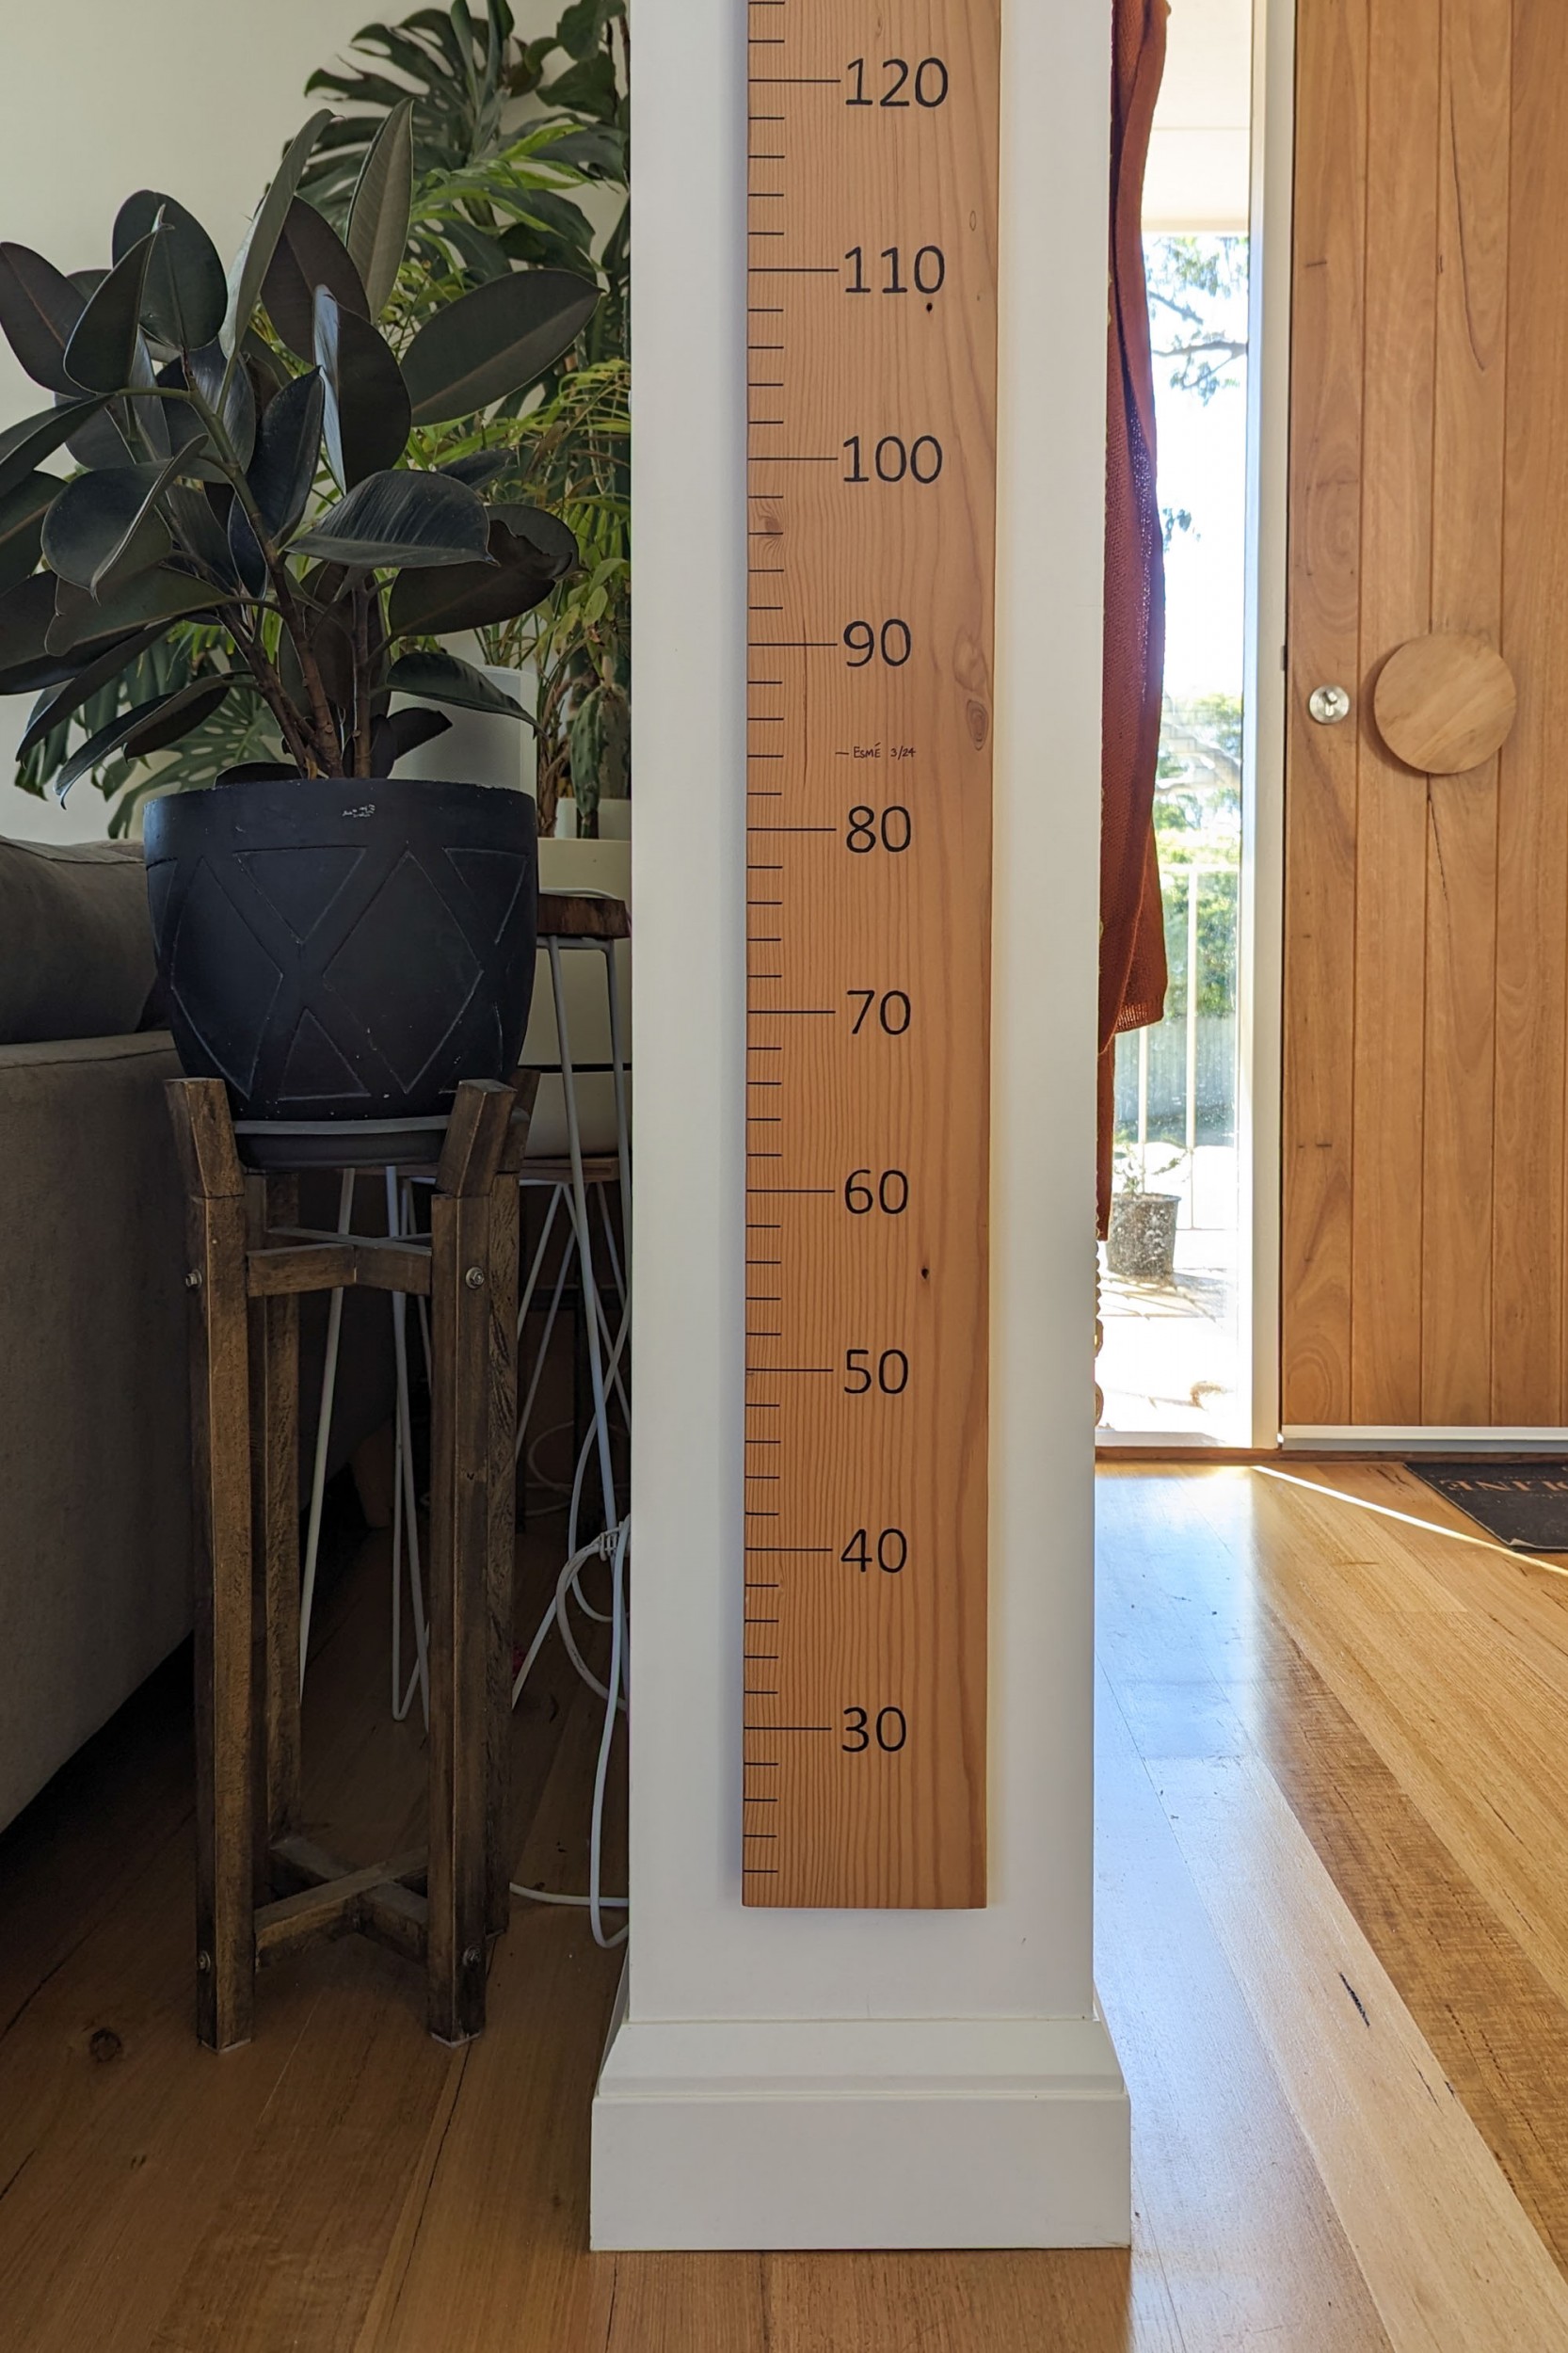
We then tested our permanent markers on our piece of wood and quickly realised that we would need to seal the timber first-the marker bled a lot because timber is porous (rookie mistake). So we sealed our piece of timber that we'd trimmed and sanded, then proceeded to mark our lines and numbers. The lines themselves were marked using a square and were 2cm long for in-between measures and 5cm long for every 10 cm block.
For our text I think we used Calibri purely because it was the default font on Microsoft Word and we didn’t hate it (seems lazy but it worked). We tested some font sizes by printing and cutting a test number and lining them up next to our lines. We landed on 110pt I believe-this will obviously change depending on your font type and personal preference.
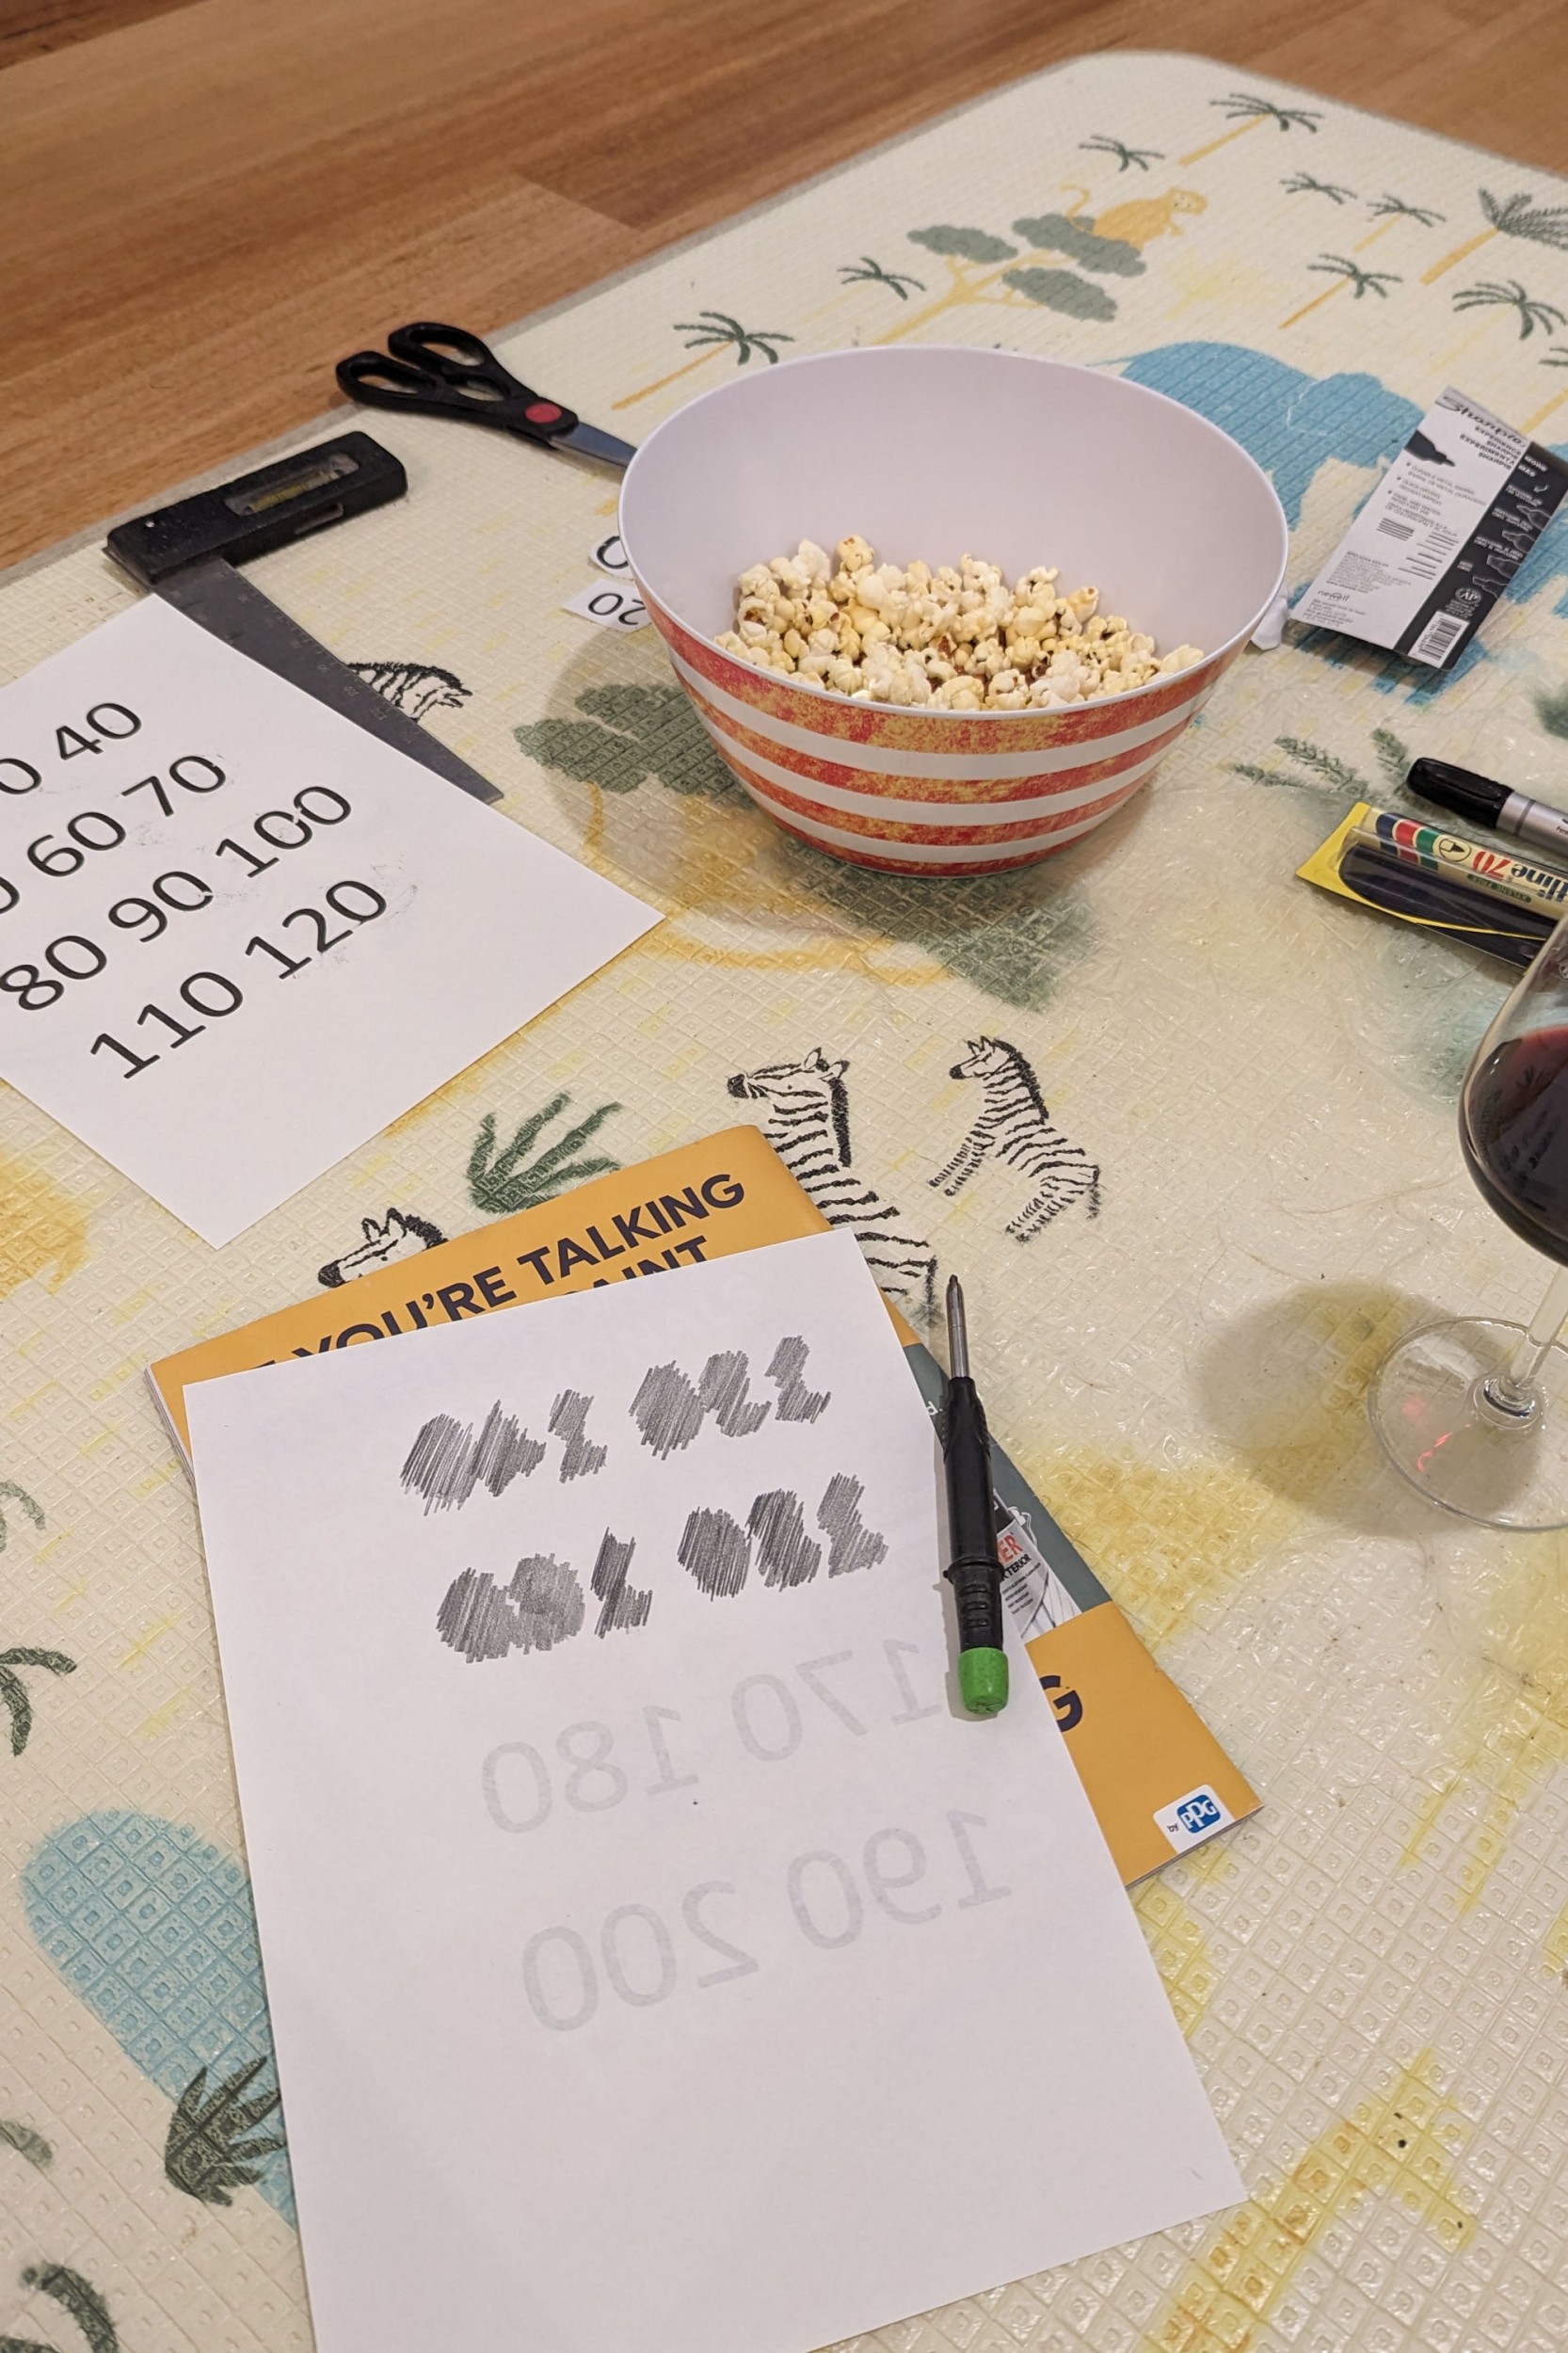
With this decided, we printed all of our numbers on a single A4 page and flipped the page over and coloured in the back of each number with a Grey lead-yup just like we did in primary school.
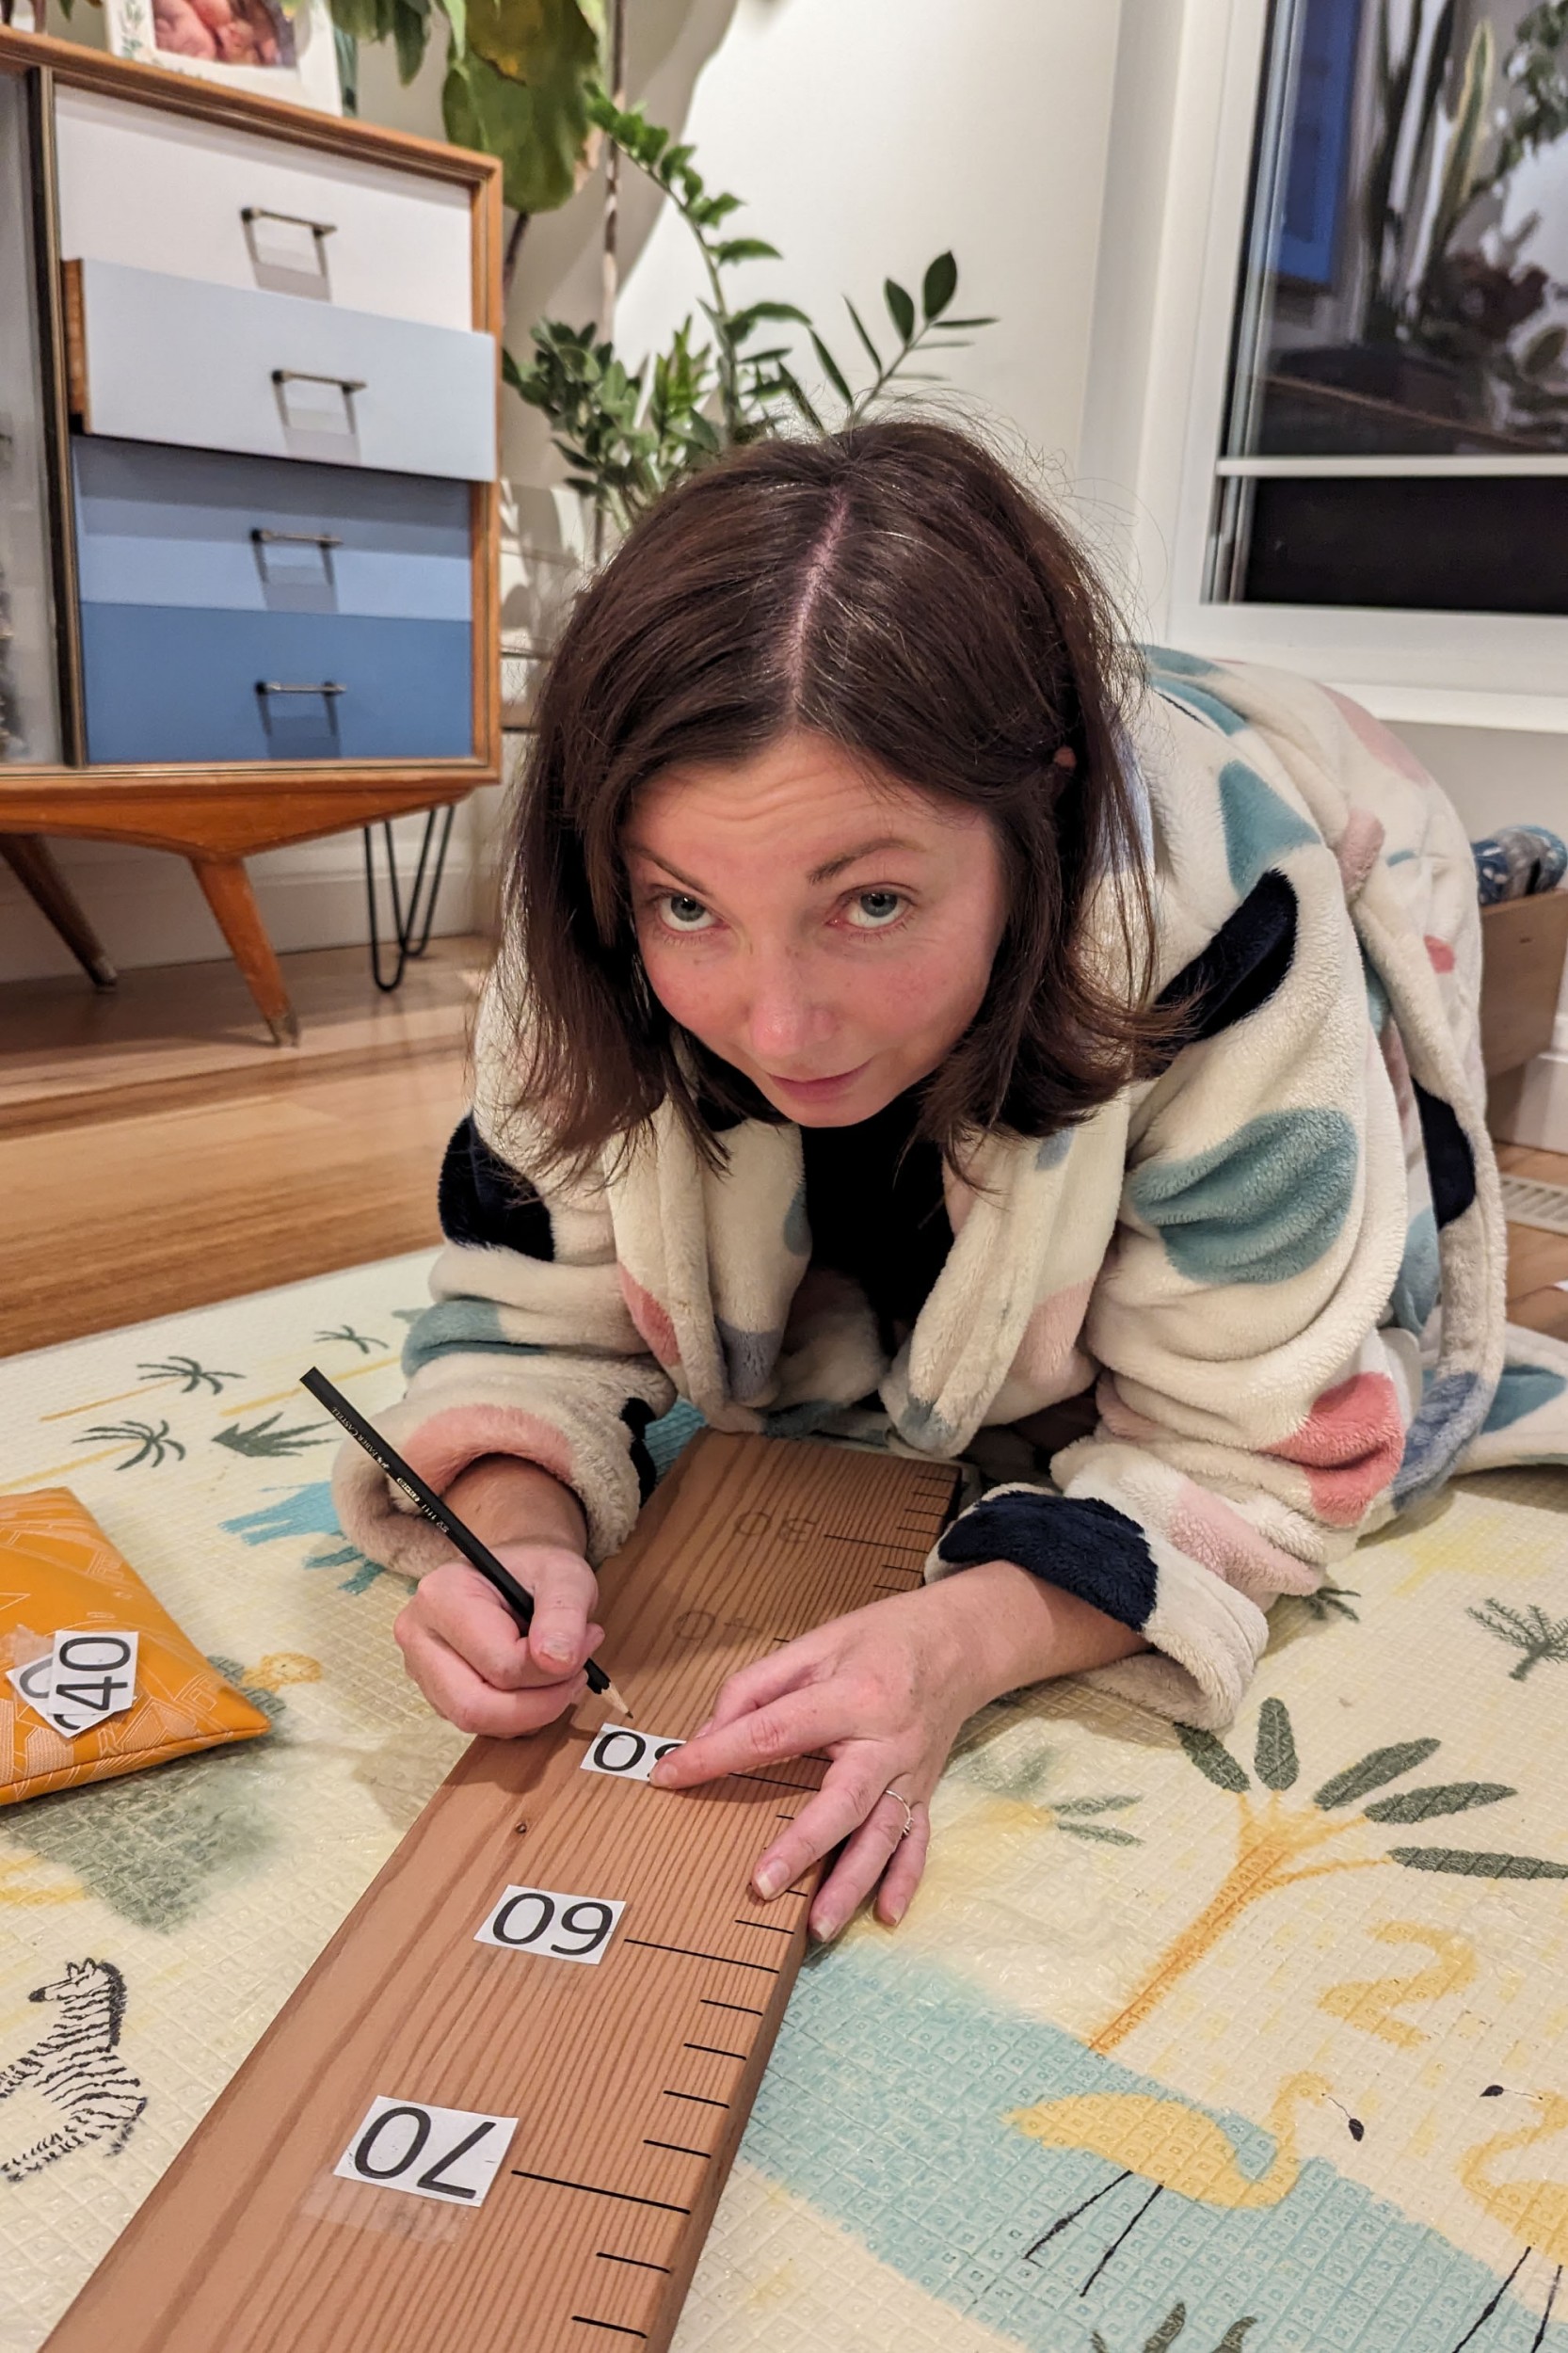
Now that each number was ready to be traced we roughly cut them out and aligned them with the large marker lines and secured them with a single piece of tape at the top. Once we were happy with positioning we got to work tracing and colouring in each number from the front, leaving a grey lead impression on the face of the timber. This is such a simple technique but does take a little time and patience.
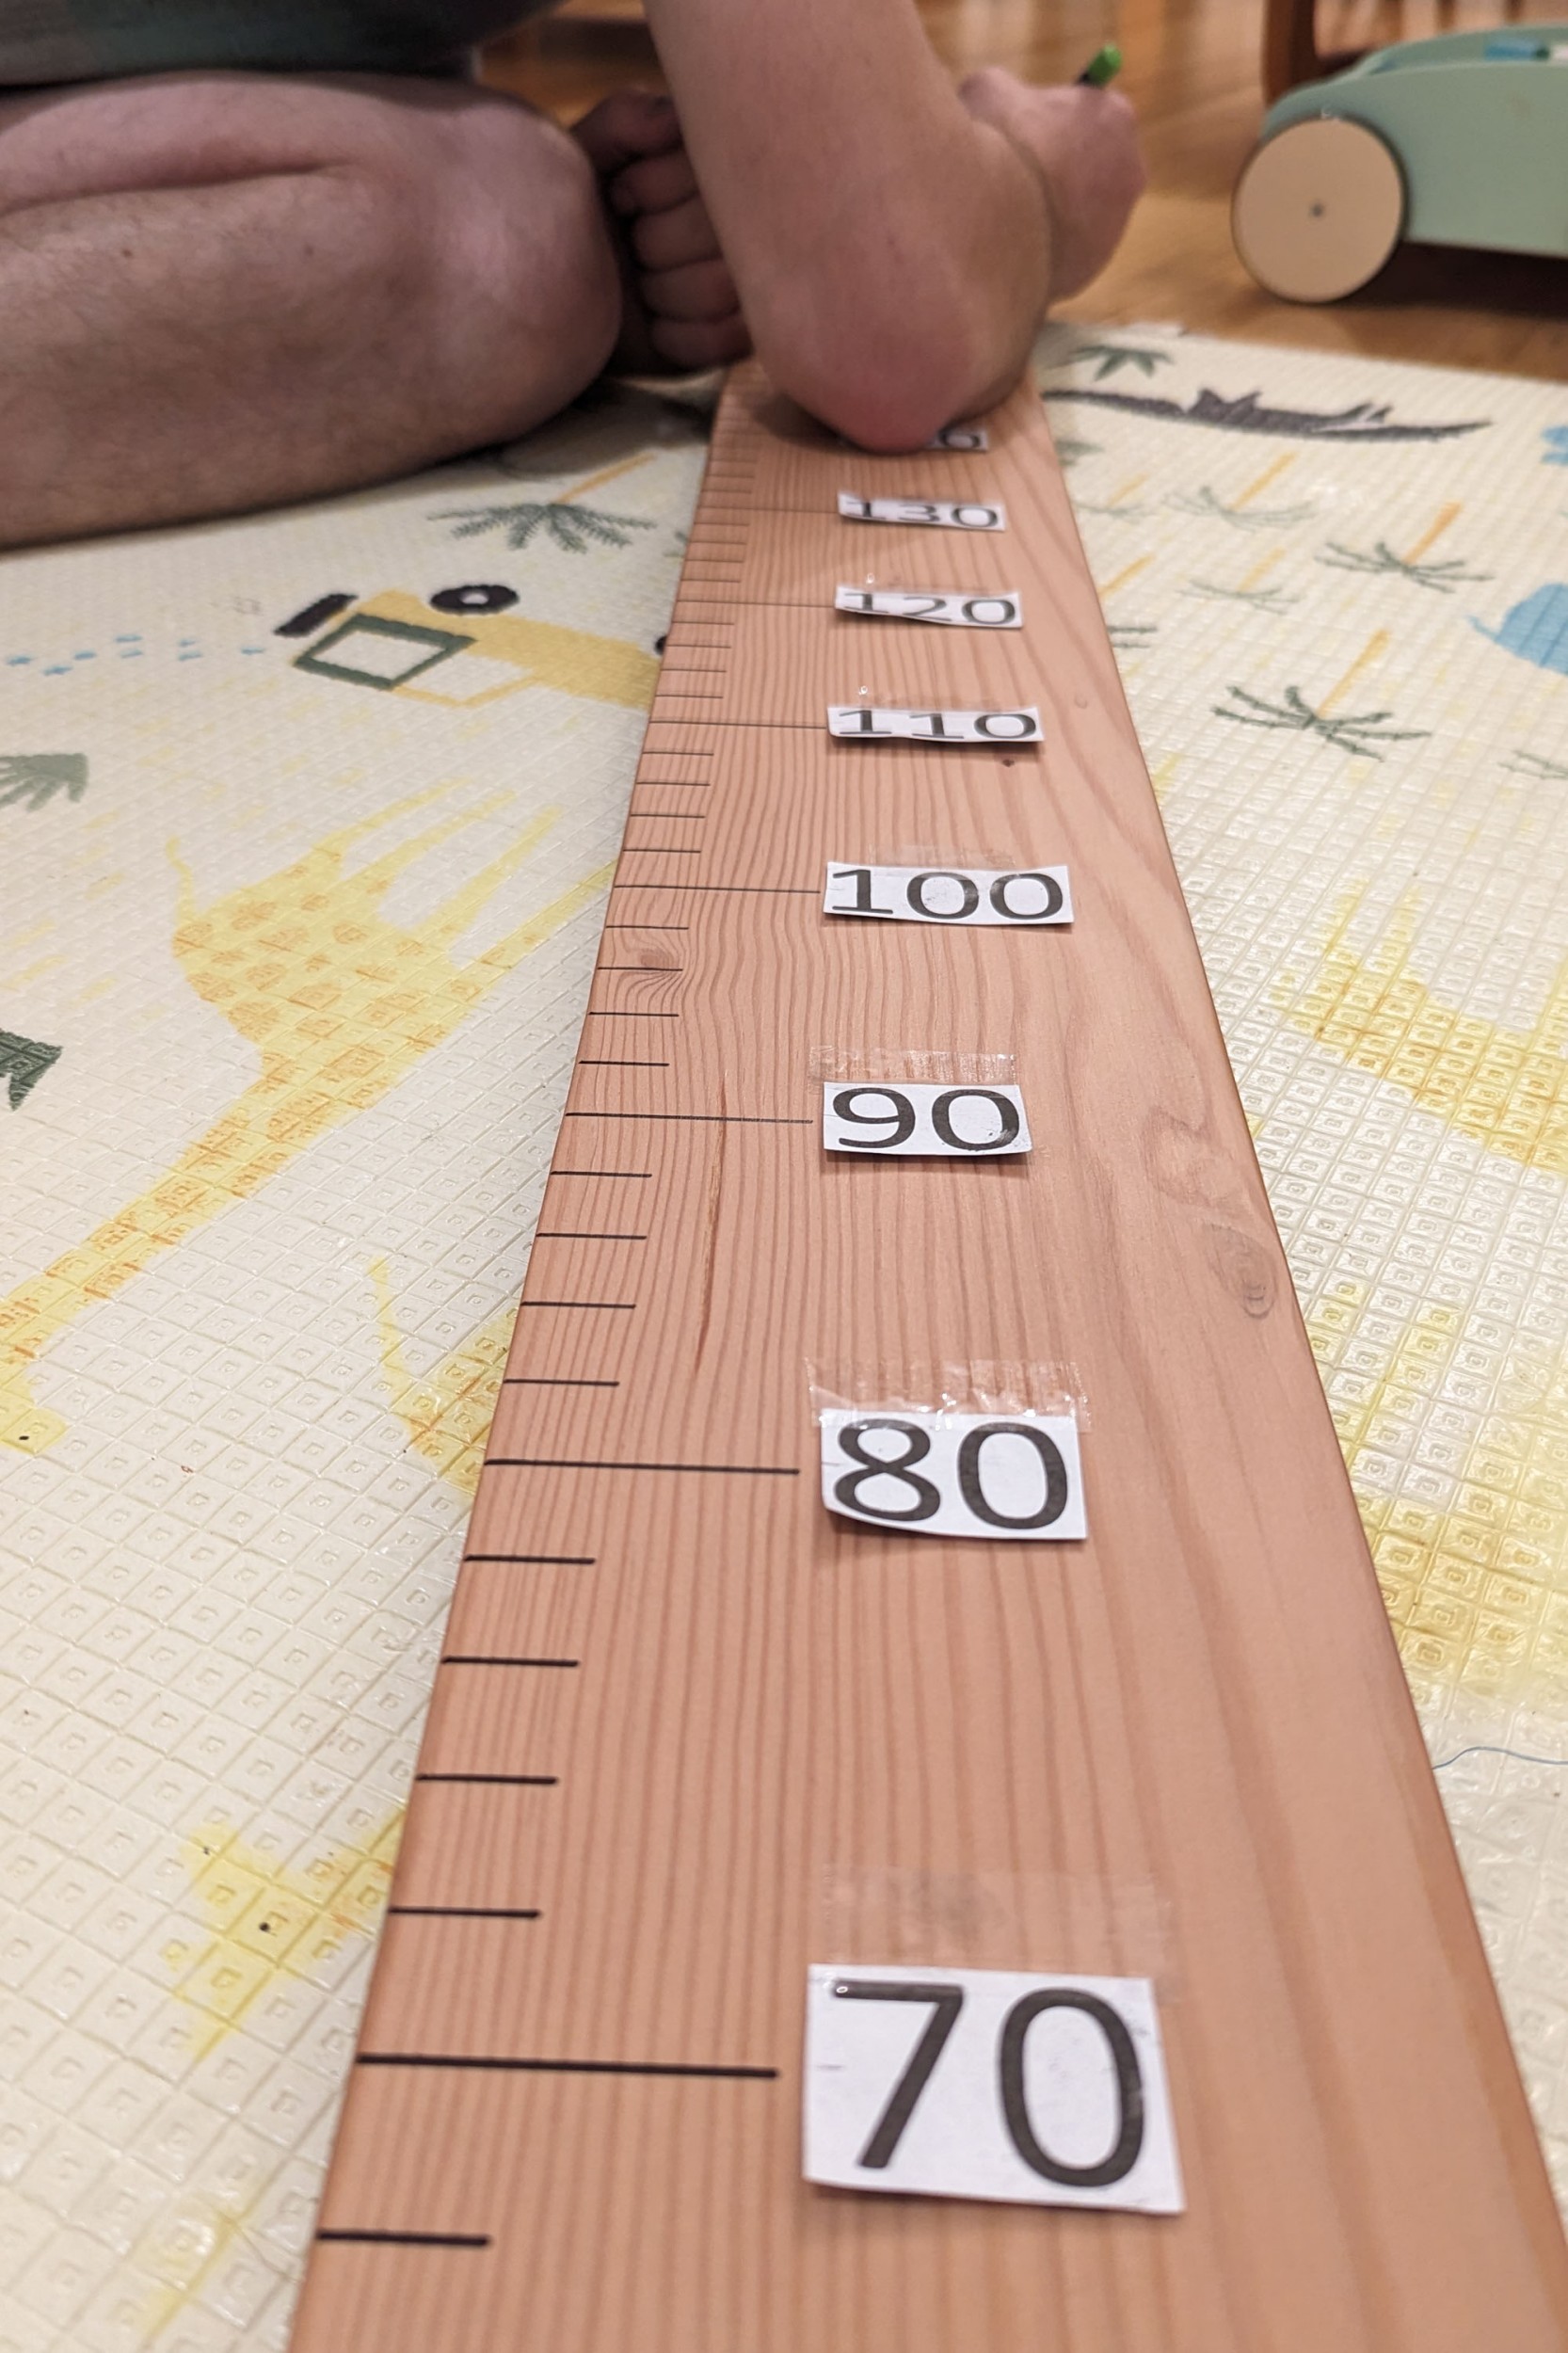
Once all our number were marked out in grey lead we removed the printed number and started colouring in each impression with our permanent markers. Once again this took more time and patience but with a glass of wine in hand, propped at the island bench we set to work at either end of the chart and met in the middle.

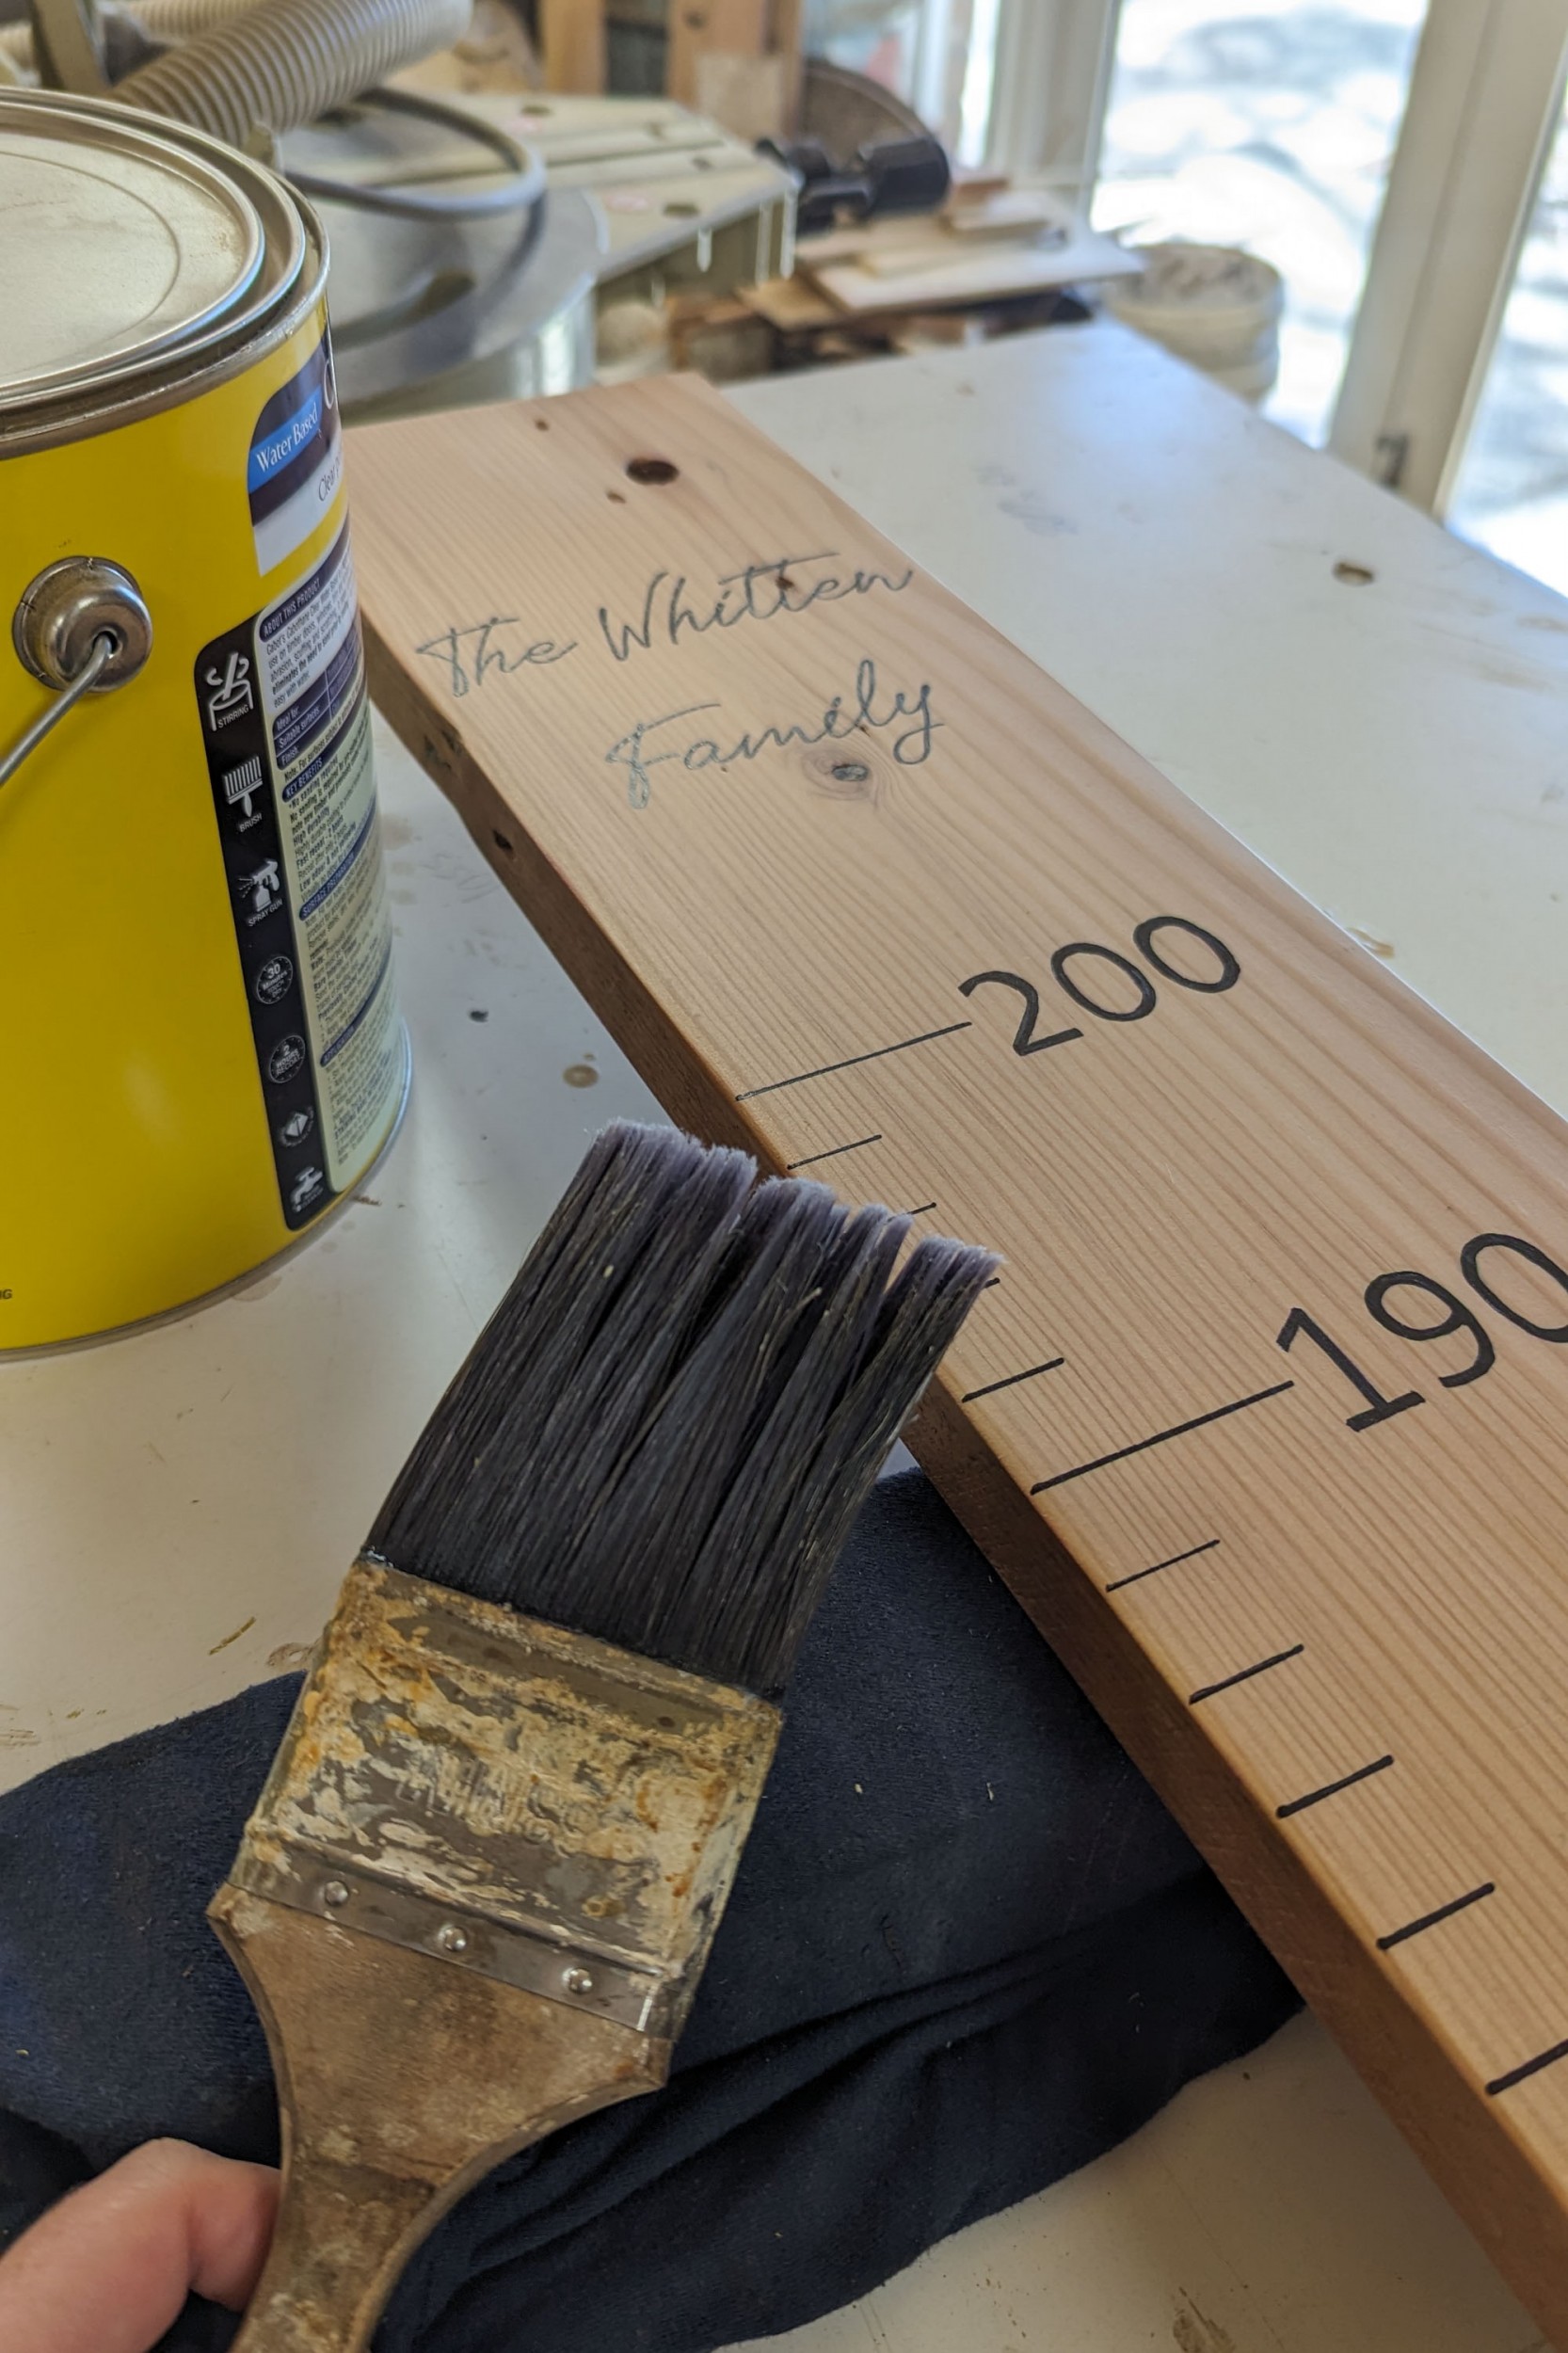
Last thing to be done was to add our name to the top of the chart. Once again we typed our wording up on Word with our chosen font being "Tomatoes'', printed it out and traced it onto the top of our board.
Now that our marking and tracing was complete we finished the chart with another coat of matte sealant to protect the marker and let it dry.
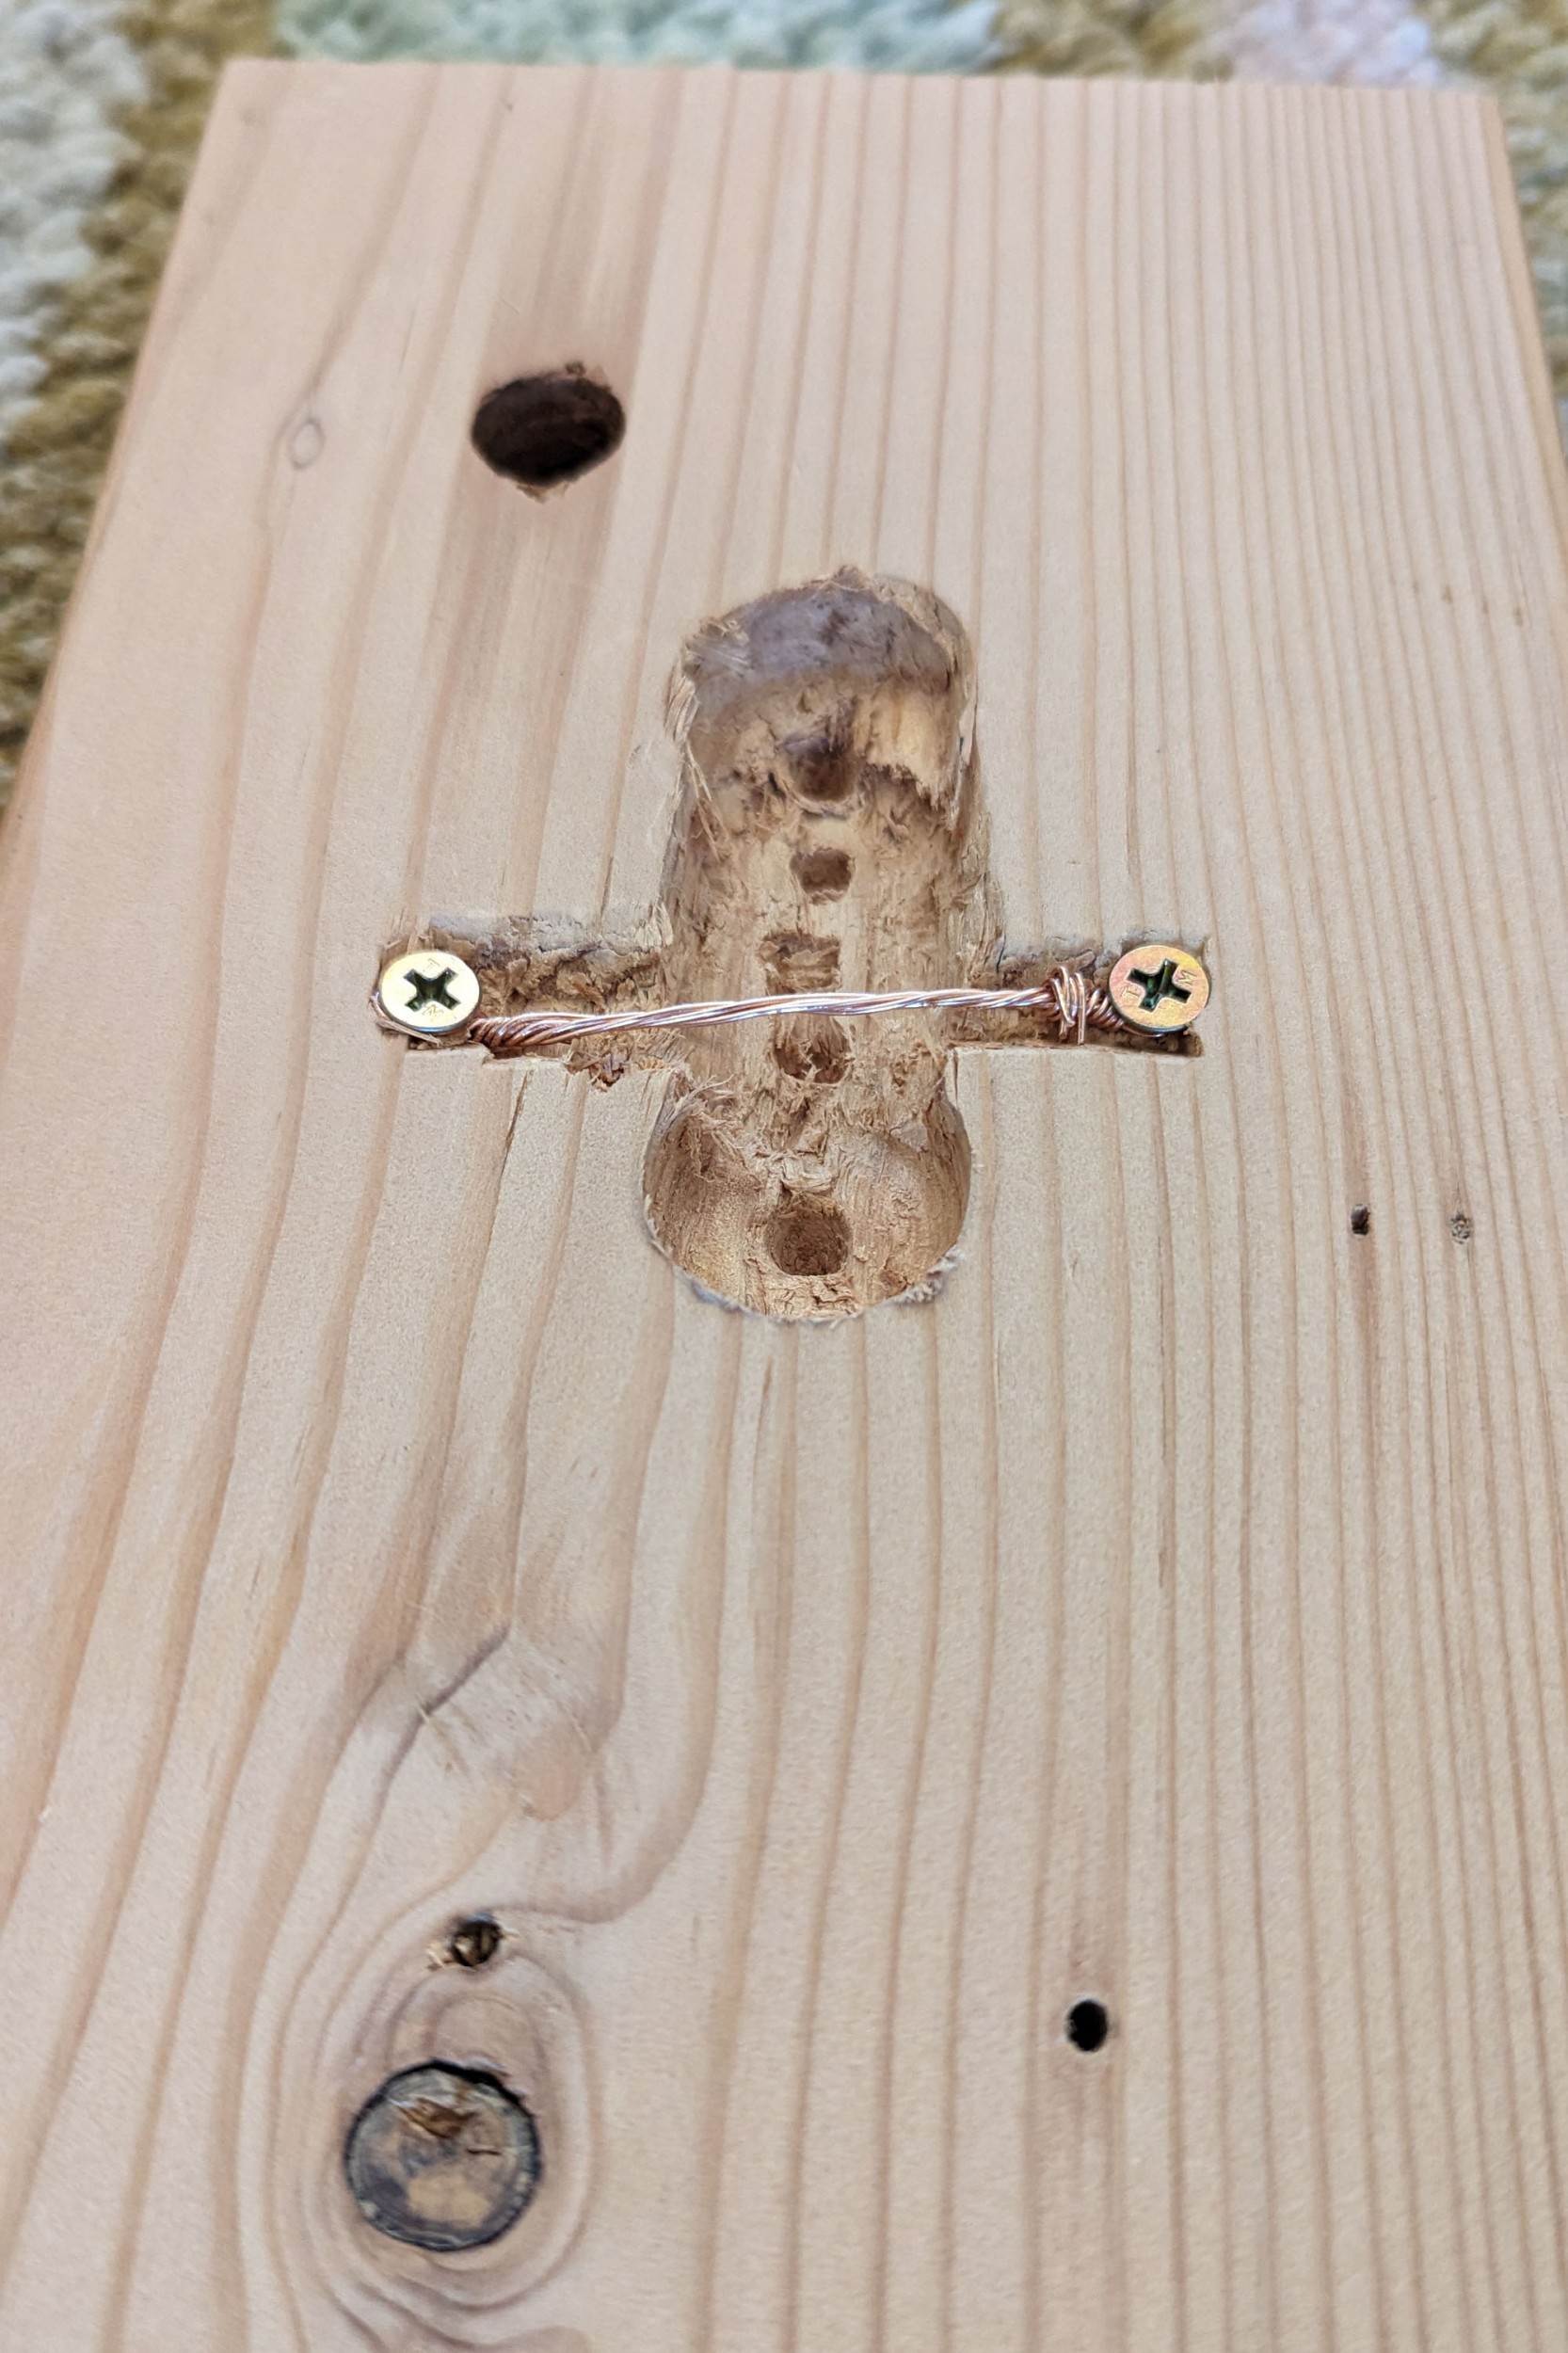
To hang the chart Mark drilled out a space in the back of the timber to recess in the wire so our chart would sit flush against the wall when hung. We used a simple plaster hook at the top of the chart and secured the bottom so it wouldn't wobble during measuring with some 3M Velcro strips. We noticed that with the space created by the 3M Velcro strips at the bottom of the chart we needed to add some adhesive felt dots like the ones you use on the bottom of furniture legs just to even it out at the top.
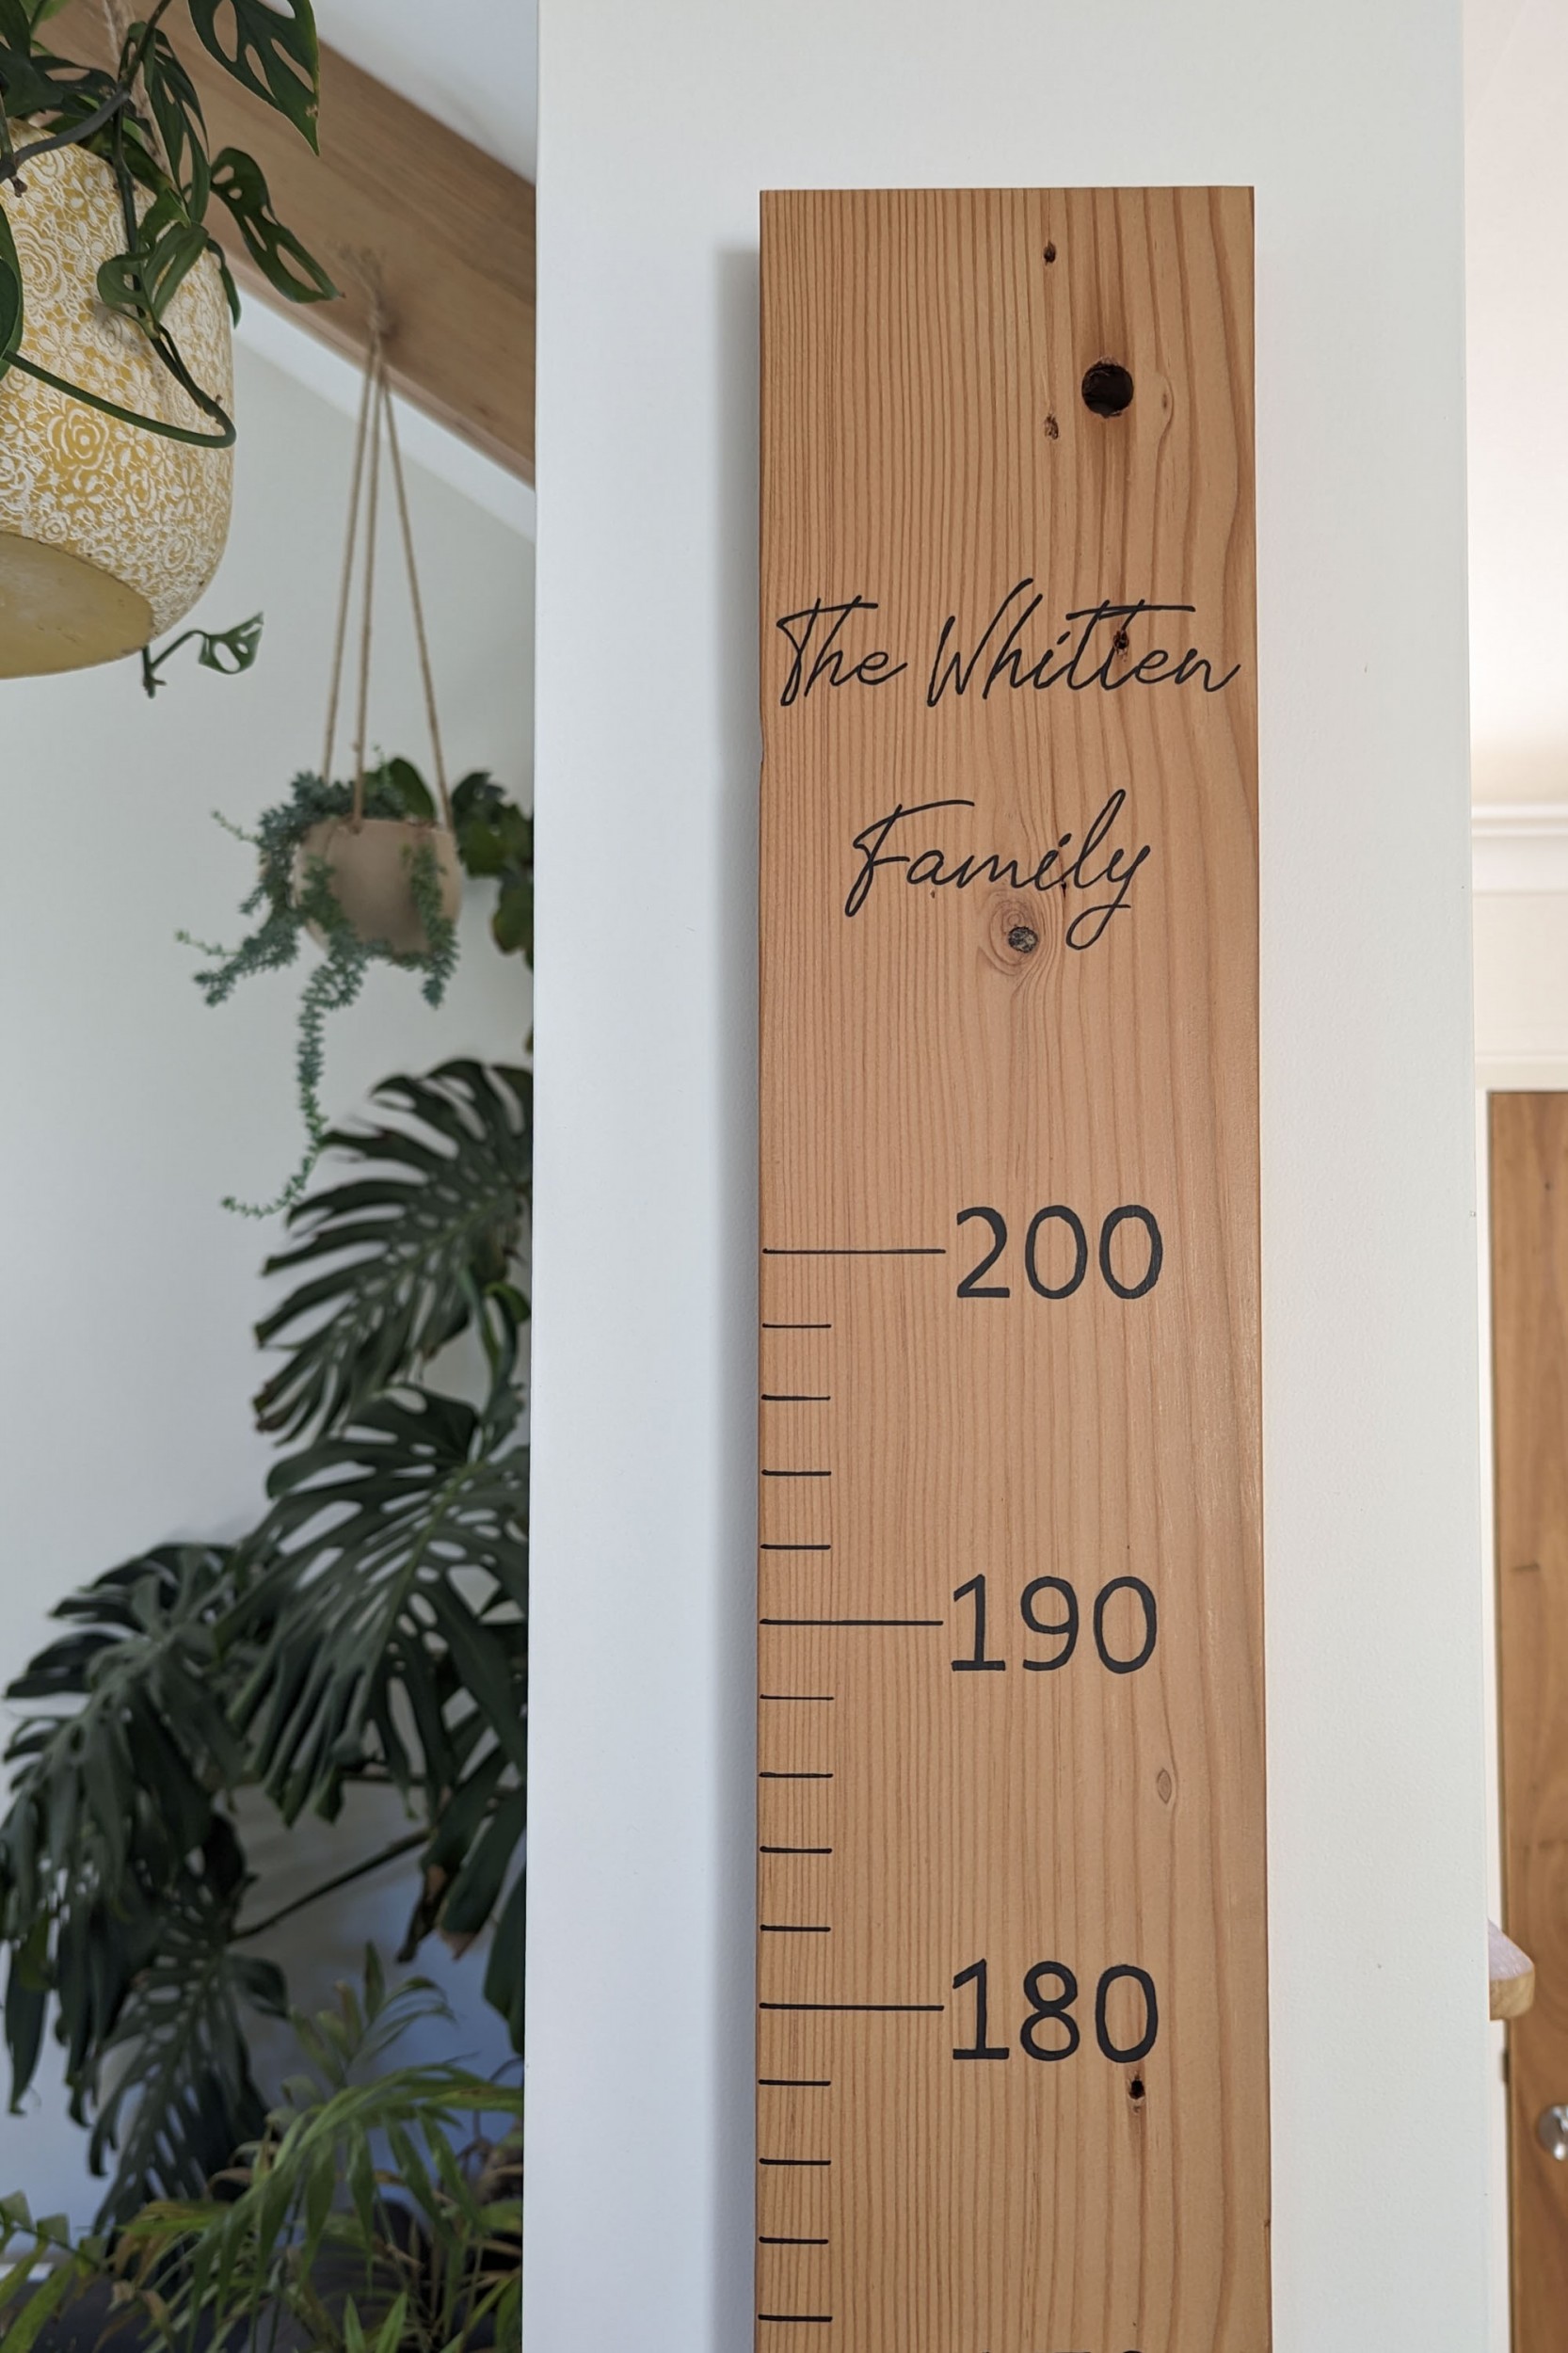
Once finished we needed to decide where to hang it. Originally we had planned to hang it our hallway amongst some family pictures but decided that we just loved the look of it in the entry way. We think it adds a personal touch to our house and means that all our visitors can see our little family grow and even measure themselves too.
What do you think?
Keep scrolling to see the step by step and links to products used below.
Step by Step
1.
Select your piece of timber. Because we used a piece of reclaimed timber we cleaned it up by sending it through our thicknesser that we use for our reclaimed dog beds. You could also just go out and buy a dressed piece of timber measuring 1800mm-2000mm long, 100-140mm wide and 20mm-25mm thick.
2.
Sand your timber with 120 grit sandpaper and seal the entire piece with a clear sealant. We used Cabot's Matte clear sealant.
3.
Mark your lines using a tape measure and a grey lead first (small marks at the edge of the timber). Then position a square at the edge of each mark and use a permanent marker to mark every 2 cm increment with a 2 cm long line and every 10 cm increment with a 5 cm long line.
4.
Pick your font style and print a few size options of your numbers to test next to your lines. We chose Calibri for ours and 110pt. This is totally personal preference - so get creative!
5.
Print all your numbers from 30-180 to sit against every 10 cm increment on your chart. So 30, 40, 50 and so on. Try to fit them on one piece of paper if possible. Flip your printed piece of paper and colour in the back of each number with your grey lead.
6.
Cut around all your numbers and arrange them in ascending order from the base of your chart to the top. Line your numbers up with your 10cm marks and secure them with a piece of tape at the top (Placing the tape on the top edge means you can flip the number up and check that your etching is working as you go).
7.
Once you're happy with your number placement start colouring in your numbers from the front side of the paper. This will leave you with a grey lead impression.
8.
Now take your permanent marker and trace over your grey lead impressions. We used Artline markers because they were the blackest we could find. You may need to pop the lid back on your marker and give it a shake every now and then as the grey lead can dry out the marker over time. You could use paint for this step if you like. For us the marker was quick and easy to clean up.
9.
Now choose your font for your family name or phrase you would like to have on your chart. Test, print and trace your lettering onto the desired position on the chart just as you did with your numbers. We went with just our family name at the top but I have seen. “Watch us Grow”, “Loved Beyond Measure” etc written at the top or along the side.
10.
Give your chart another coat of clear sealant to protect your marker.
11.
Once dry add your fixtures to the back and hang your chart. As mentioned above we recessed our wire into the back of the chart by using a very blunt spade bit (Mark is shaking his head at me documenting this), two screws and some copper wire. Yes, it doesn’t look pretty but no one will see this and your chart will sit flush on the plaster. Measure where your chart needs to hang on your wall and hammer in your plaster hook. Secure the bottom of your chart with some 3M velcro strips to prevent movement and add some felt adhesive dots (like the ones you use on the bottom of furniture) to the top to make the chart sit the same distance off the plaster. This gives a slight shadow line to your chart.
And you’re done!